Showing posts with label moving. Show all posts

Monday, March 26, 2018

Finding virtual (and actual) stuff ...

N-5-a 463 on the Richford local, George Corey photo. 
Moving is ... well I was going to say "is an adventure" but frankly it just plain sucks....
But the weirdest part is the unboxing - it's like Christmas morning - especially when you find a few months have passed before you're reunited with your stuff. 
Of course there's a fair amount of "what did we save this for?" Followed by the amusement of discovering the movers carefully wrapped and boxed up everything - even the plastic knives and forks from the local fast food place that happened to be sitting on the kitchen counter on moving day!
Then there's this file folder of papers that I'm constantly loosing and finding again. I swear it has legs. In my case it's copies of three typewritten booklets listing the industries served by the CV.  I thought I'd included the folder in a small file box of reference material I brought to the apartment. Went to look for it a few weeks later only to spend most of a frustrating Sunday afternoon looking for them, concluding the folder must have gotten boxed up (maybe with the plastic knives and forks?). 
Of course yesterday I was emptying a few more boxes in the office, including that box of reference material I'd taken to the apartment. Sure enough, there was that stupid file folder with list of industries. It wouldn't be so bad except this isn't the first time this folder has gone rogue. It disappeared in the old house a couple of times. And I wouldn't be surprised if I went home tonight to find it's gone over the hill again.
In addition to the "analog" unpacking, there's also the fun of virtual unpacking. I'd packed up my large Mac desktop since there simply wasn't room for it in the apartment. Saturday I unpacked it, plugged it in, and turned it on for the first time in months. Thankfully, she fired right up - and I ran across several Richford branch photos George Corey had emailed me a few months back, including the one above. I think it nicely captures the spirit of the Richford Branch in the late steam era. 
It also reminded me I need to include a few wood pile trestles on the layout. 
And speaking of the layout, for ease of reference I've added a tab just below the header that should take you directly to the most current CV Richford Branch layout design. 

Monday, February 12, 2018

Checking In

Despite rumors to the contrary, I haven't fallen off the edge of the earth. Life in all its forms has gotten and stayed extremely busy since the fall - and things only now are showing some signs of letting up. 
One of the leading time sinks over the past several months has been the process of building the new house. In an interesting turn of events, the people who bought our old house bought the furniture - every stick of it - as well. And although it's been great that we haven't had to pay to move and store tables, couches, beds and the like for several months only to find they don't fit the new house - it's also meant we've been spending a great deal of time shopping for furniture. 
New Layout Area - but what form will the new layout take? 

But the new house is getting dangerously close to be being "finished" - the seemingly never ending extra long days at work seem to regaining at least a sense of returning to normal hours, and things are looking good. 
What I haven't gotten a lot of done lately is model railroading. 
I managed to start a couple of car kits, and they sit in early stages of assembly on my modeling desk. I strongly suspect they'll be getting packed up shortly as we are scheduled to close on the house at the end of the month. 
In fact, the main model railroading thing I've gotten accomplished in the few months we've been living in the apartment is working closely with my friend Lance Mindheim to design a plan for the Richford Branch inspired layout. I'll likely share the track plan here at some point in the future - but frankly want to move in and live with the space for a little while before committing to say "this is the plan." 
To those of you familiar with Lance's approach to such things, the layout is what might, at first glance, seem minimalist. Honestly, there's more "scope" that could be cut from even the "final" draft as it now sits. 
There's also a nagging temptation, based on the ongoing reality of how all-encompassing work has become over the past year, to think a very simple, stand alone layout - perhaps with a radically different theme - may be the best approach for now. 
Expect no decisions anytime soon as the "to do" list for various household tasks after we move in are going to take priority over layout construction. Honestly, I doubt I'll cut the first piece of lumber before the weather turns cold again. 

Friday, November 17, 2017

Move out complete - 1/2 there ...

I snapped this picture Tuesday night just before I turned off the lights for the last time:

You can't even tell there was a model railroad in here just a few months ago. 
It's been a crazy week of moving the last few items out of the house and into the apartment (if you've ever wondered how much stuff you can cram into a small apartment, the answer is a lot more than you might think!). Wednesday morning we closed escrow on the house, turned over the keys and were feeling pretty good about things. 
That is until our realtor sent us a note thanking and congratulating us, adding "just think, you're half way through the move!"
Ugh, that's right - we still have to move out of the apartment and into the new house. I suspect that will be less of a hassle - we've learned in the last six weeks that we're too old and set in our ways for apartment building life.  
In the meantime, I'll stop the moving and new house updates on here since they're not really model railroad related. 
I will, if anyone is interested, write about the layout design process. 

Blog Notes: 
After considering what to do with this blog I've decided to keep it pretty much as is for now. 
I spent some time the last couple of evenings adding a "Manassas Layout" label to any post that was specific to the old layout. I also deleted any truly outdated posts (things like "I'm having an open house this weekend ..." etc. ) To see every post on the layout I was building, and rebuilding, from 2009 until now, click on the "Manassas Layout" label at the bottom on this post. 

Monday, November 6, 2017

Catching Up and a Quick Side Trip to "The Curve"

Perhaps I should title this post “Catching my breath” – since it’s been a whirlwind three weeks or so since my 14 October update. (Well, I have done a couple of Wordless Wednesday posts, including one showing exciting shots of basement walls without a house attached!). Happily that's changed - see photo below. 

Out with the old
As I’ve mentioned previously we moved into a small apartment at the end of September, and put the house on the market fully intending for it to be a few months, at least, before it sold. We had an offer in less than two weeks, from a couple who wanted – no needed – to close on 15 November. Naturally, we accepted the offer but we've had to go from the "we have 3 or 4 months" mindset we were in to "we have less than a month!" 
It’s been a whirlwind of negotiations, inspections, dealing with the items we hadn’t moved out of the house – yet – and the like. Some of which have gone smoothly, others... let's just say I'll have to tell you over a cold one some time. 
I’m thrilled to report as of today everything is still on track to close on the 15th – and fingers crossed – once we get past that milestone we can focus on the new house. Which is a good thing since ....

You’ve got to watch them… 
Like a hawk. Builders that is. 
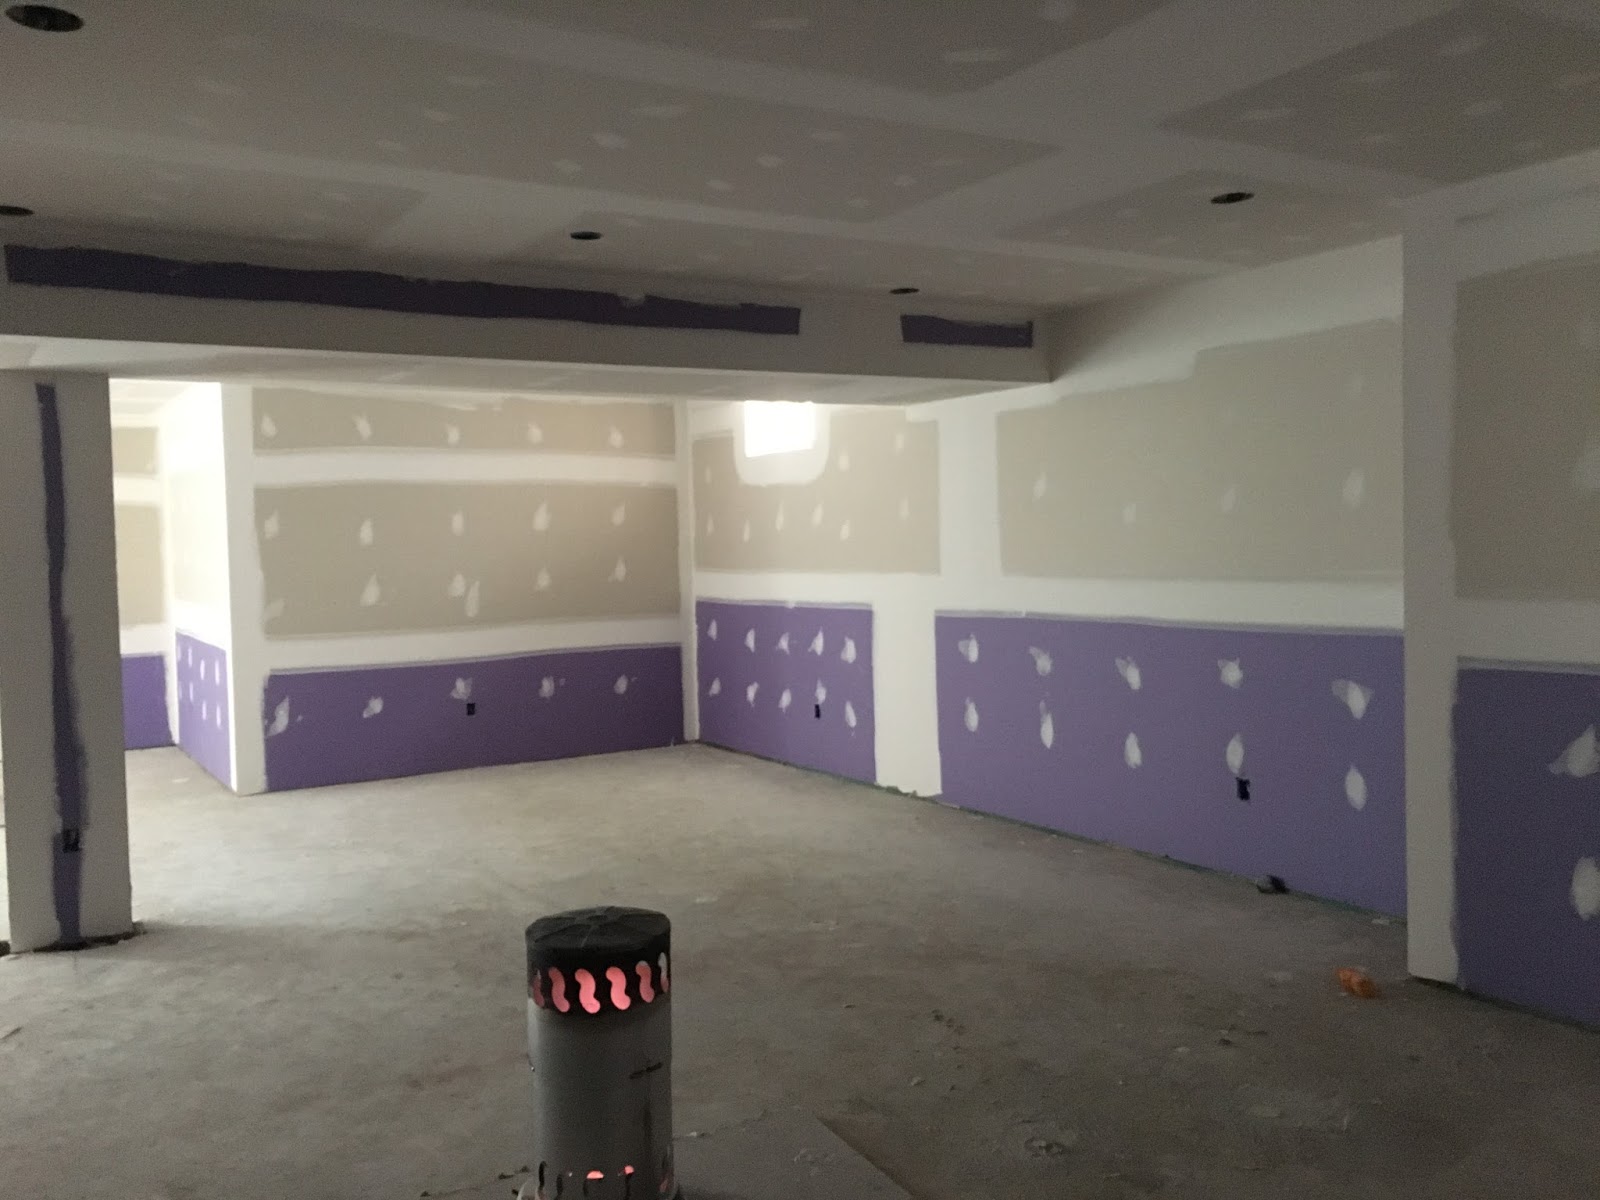
When we signed the contract for the new house we included a finished basement (it was an option at a price that would be impossible to meet if we’d waited to have it done by another contractor after we moved in). The builder has a “standard” way he finishes the basement, but you can (for a price) add to the finished square footage. The standard basement includes three unfinished “storage areas” – I opted to use one of these for household storage, one that will become my model building shop and the third – well, the third seem superfluous so I paid the extra coin to have it finished, specifying that it not be a separate room but instead should be part of the main “family room.” And, since there no wall between the storage room and powder room the basement powder room wall was supposed to shift about 12 feet to the right. 
All was well and good – until last week when I stopped by and noticed the rough plumbing for the powder room was located in the same place as that wall that we'd eliminated. Meaning a few pipes would just be jutting up into the middle of the finished basement. 
A quick call to the sales agent produced a run around about how they knew what they we’re doing, the pipes were in the right place, etc… I might not know much, but I can look at a diagram and walk off basic measurements. 
I called them since I figured it was something they’d want to fix now as the basement floor hadn’t been poured. 
A message was delivered to the site supervisor, who was on vacation that day. Turned out that later that same day a cement truck poured the basement floor. 
The next day the builder acknowledged the error – it was a case of the plumbers coming in and putting the pipes “where they always go…” 
A jackhammer and a second visit from the plumber fixed the problem… but you really need to watch these guys…sometimes they seem to go so fast they get ahead of themselves. 

A Little Time Off
Despite the craziness I managed to take a couple of days this past weekend and Stic and I headed up to the Finescale Modelers Expo in Altoona, Pa. Although there were some fine models on display, I would have to say the clinics as a whole were not as good as other meets I've attended (I might have more to say on that at some point in the future). The models on display, even those a little fanciful for my taste, were outstanding examples of craftsmanship - I especially liked this O scale diorama - the various elevations and the way the buildings and trees were arranged created some neat vignettes. 

I even managed to find a couple of things to purchase in the dealer room - most significant of which was a couple of BEST Trains kits. I have a number of these, including the now famous "barn in the curve" from the previous layout. I like them because I think they are reflective of typical New England architecture (mostly because they are based on real structures) and are only minimally "compressed."

Highlight of the trip was a visit to the Altoona Railroaders Museum, followed with a visit to the Horseshoe Curve. The weather was outstanding and the colors were just at or slightly past peak - and Norfolk Southern was keeping the rails polished. Well worth the trip. 

Saturday, October 14, 2017

Progress...new house, old house

I don't know if it's some sort of omen (and if it is I hope it's a good one!) that the same day we signed the contract to sell our old house (closing middle of next month - provided all goes well!) construction started on our new house. 
I went by yesterday to see if anything was progressing and the footers were being poured - and the house "kit pack" - essentially the precut lumber for the house and the floor "decks" were being offloaded from a series of flatbeds. No, I didn't try to measure the outline of the basement walls...I didn't have my tape measure with me (or my boots!) 


Thursday, October 12, 2017

A quick update

Some of you have emailed asking for an update on the move, sale of our old house, construction of our new home, etc...
Briefly, our old house officially went up for sale two weeks ago tomorrow - we have received an offer, and are currently going back and forth with the potential buyers... anyone who's ever sold or bought a house will appreciate how much fun that can be! But I'm cautiously optimistic that we'll end up with a successful deal. (Someone told me once that a successful deal is one where all parties end up just a little disappointed with the outcome...)
Since we plan to sell the house well before our new one is completed, we rented a small apartment and moved just enough furniture, clothes and the like to make it work. I also brought along my modeling desk, and am planning to spend some time working on bench projects until the new house is done.
Speaking of the new house, construction has officially started - the excavators were hard at work yesterday, and we've graduated from being the proud owners of an expensive pile of dirt and rocks to being the proud owners of a really big hole.
I don't know where all the extra dirt went and don't care. It was great to see progress after several months of planning, permits, prepping the old house for sale, and the like.
On the modeling front, I plan to work on several half-started projects, including some resin freight cars. I also dug out the parts for this mill building, which will be the first project I work on in the temporary modeling shop a.k.a. the apartment dining room.
Before we moved, I added indentions for nail heads to the clapboards, roughed the walls up, stained them, and gave them a coat of paint. I also painted a lot of windows. The first step was to dig all the pieces out of the shoebox they were stored in and make sure everything was still there! 

The basic process I used to finish the walls is common with builders of craftsman structure kits (Finescale Miniatures, South River Model Works and the like). Frankly, I've not tried to use these techniques in years - and I really don't have that much experience with them. I'm going for a "rundown, but not dilapidated" look - a building that definitely needs some TLC but isn't about to be condemned.
I'll let you be the judge. Here's a closeup of one of the walls:


Then I started staining and highlight painting the New England Brownstone stone wall castings - some of these will serve as the foundation walls, others I plan to use as part of the mill dam.

Saturday, June 10, 2017

Bye Bye Bye ....

After spending several hours hauling bits of wood up to the garage, and planning to rent a pickup up truck and make several trips to the dump,  I opted to solve the problem of removing the layout from the basement the American way and throw money at it. So first thing this morning this appeared in the driveway -
Add "cost of having a junk hauling company remove the layout from the basement and haul it off" to the list of things that cost more with a large layout. Less than an hour after they arrived what had started life as my "dream layout" looked like this:
I am still rather depressed about the whole thing, so I'm going to stop here and say this hereby closes the book on what will be from now on referred to as "the last layout."

Sunday, June 4, 2017

Status Report - 3 June 2017

After a long day in the basement, disassembly of the peninsula is complete. Next step is getting the remnants upstairs and out to the garage. 
The massive amount of wood currently leaning against the walls and piled on the floor present the perfect argument for smaller, simpler layouts! 
Ugh, none of this was any fun, but having a good friend over to help at least made it seem to go a little faster! And we did enjoy a nice lunch trackside in Old Town Manassas - where we discussed plans for the next railroad! 
Thanks Stic!

Thursday, June 1, 2017

Lessons Learned


An important lesson all sailors learn in bootcamp - ways to stop water from getting into the people tank.
Lessons Learned are a big thing in my work life.  We’re perpetually looking at things that didn’t go as planned (and even those that did) in an effort to identify and repeat the things that worked and to avoid repeating those times, as one of my old bosses was fond of saying “The water got into the people tank.”*
So, although I was pleased with the layout’s scenery and performance (once the initial teething pains were worked through) I find myself asking if the layout was “successful?”
The stated purpose of the railroad was to “model the equipment, structures, operations and setting of the Central Vermont Railway in the late steam-to-diesel transition era.” 
Measured against that standard, I’m not sure the railroad didn't fall short.
Here's just a few of the lessons learned:
Focus: I need more of it, and I need to stick with something once I drive the stake in the ground. "Modeling the Central Vermont of the 1950s..." is a large canvas. As I've relayed in this blog, I started modeling the Southern Division of the railroad on a double deck layout, then tried to shoehorn White River Junction and the Northern Division (with it's larger engines) into a single-deck railroad, only to later remove WRJ and install Essex in its place. The basic footprint of the layout never really changed all that much, but I think we built, and rebuilt, every section of the layout at least twice. 
My approach to layout design?

In essence, I was chasing the ever illusive squirrel - the hope of a "perfect" layout design to overlay on my theme. In the end, "perfection" became the enemy of decisiveness. That's all on me, and I truly appreciate the grace and tolerance shown by my friends throughout all this! 


Modeling the Operations:  In general, the individual operating sessions were a success (I always had a good time).  But let’s look at it from the viewpoint of return on investment.
I started construction of the layout in December, 2008.  It took several years of building (and yes, rebuilding) the layout.  In total, I ended up hosting 17 “official” operating sessions throughout the railroad’s 8.5 years of existence.  That’s averages out to a session about every 7 months.  An aside, if you really want to depress yourself, consider the following formula:
Total Cost of the Layout (in $) / Total # of Sessions = Cost/per session ($) 
No matter how it's broken down, it doesn’t seem like the time, effort, and money to build the layout was worth it when you consider the total time spent performing its main function was a fraction of the time it existed.
We didn't operate as much as I'd hoped, but Christine made sure no one left hungry!
Modeling the Equipment:  It’s great fun to tell yourself you’re going to model the railroad’s operations, six or seven towns, complete with scratchbuilt replicas of all the buildings, and run through them trains populated by accurate, detailed cars pulled by equally accurately detailed locomotives.
If you asked me what my favorite part of the hobby is I’d tell you it's building detailed freight cars. 
The one resin car I've gotten built in the last 24 months...and it's not even lettered yet!
If that's the case then why I have gotten exactly one – that’s one – resin car kit built in the last two years?
 Instead of doing what I wanted to do when I wanted to do it, I’ve been stuck in a do-loop of sorts - “feeding the monster” – that large layout looming in the basement that required track, wiring, static grass, structures, trees (my God, the trees!), in massive quantities.  I kept telling myself I’d get the thing to “looking finished” and then turn my attention to the projects I wanted to work on.  But there was always another bunch of trees to install – or some piece of track to ballast.
I'll conclude with this. I'm not "down" on large layouts. I'm also not "down" on small layouts, or anything really. I don't think  the layout was an absolute failure. I had fun, shared some good times with friends, perfected some techniques and learned a lot about myself. My purpose in writing this is not discourage anyone else from pursuing their approach to the hobby (Lord knows, the above isn’t going to encourage anyone to do anything other than take up knitting!). Instead, I'm trying to quantify the good and bad and hopefully apply those lessons learned to the next railroad. 
 *To get the joke it helps to understand he was a submariner. And the #1 rule of all submariners is to keep the water out of the people tank…(Hey, it’s not my line, submariners are weird, everyone knows it.)

Layout Tear Down Status Report - As of 1 June 2017


Hope all took some time to reflect over the past weekend on what the holiday is really about.

Thanks to a (seemingly) never-ending string of rain storms passing through the area I've not yet started on my deck staining chore.  I did turn my attention to starting removal of the layout from the basement. Currently, the "barn curve" - a scene that I think came out pretty well, is sitting in the garage in 5 or 6 pieces awaiting a trip to the landfill.

Attempts to part out sections or pieces of the layout, even interest in basic components like 1 x 4s and the like, have fallen on deaf ears, or became too difficult to coordinate (I can't store this stuff indefinitely waiting for someone to come out and decide if they want to take any of it or not!). So, I opted to make it easy on myself and, once the layout scraps are in the garage, everything will go to the dump.

In addition to the lobe end of the peninsula I've started removing the around-the-walls sections of the benchwork. The rest of the peninsula, which involves removing the backdrop and supporting structure, will wait until the weekend when I have some additional hands available. I expect the basement will be devoid of model railroad by the middle of next week.

On the positive side I've been doing more sketching and thinking about the next layout (hey, it makes the drudgery of tear out seem like hobby time, I guess!). I'm still leaning - very hard - towards the Richford Branch theme. Some have expressed concern that this would be "too limiting" and not offer enough variety, require enough operators, or otherwise wouldn't be worth the effort. I do see the point, but in my mind, these limitations are precisely what makes it appealing. 

Sunday, May 28, 2017

Dismantling commenced

From this:


To this:
Total elapsed time, about two hours. 
Because of how it was built, and rebuilt, this area had some of the most "complex" benchwork. I think taking the rest of the layout out will go even faster. 
They always come out A LOT faster than they go in....
Thinking about the next layout makes the process a little easier. 


Thursday, May 18, 2017

Layout tear-down update

Thanks to all who have written individually or posted to the blog. I've been in the middle of a big project at work, and moving is well, all consuming, so I haven't been able to respond to all the notes, posts, comments, etc... Here's a quick rundown on where this project currently sits:
- The layout is still in place, but not for much longer. Thanks to my folks visiting last weekend and looking to help, the railroad is now devoid of trees ... most of the fall trees have been packed away for possible reuse. My dad proved to be quite the logger....


- Monday my folks helped me pack up my workshop - so the lathe, milling machine, scratchbuilding material etc... are all boxed up and ready to go into temporary storage. First, I have to haul all those (heavy) boxes upstairs!
- Over the course of the last couple of weeks of evenings I managed to pack up all the all the cars, locomotives, and structures, etc...
- All the salvageable track (ie. any track without ballast) has been removed from the layout. Any pieces of code 70 track longer than 2 feet have been bundled and packed away. All others bits and pieces of track, broken turnouts, etc...went to the curb. 
Next step will be the worst - removing the layout framework itself. That's on the docket for next couple of weekends...

Friday, May 5, 2017

So, What's next?

Since I posted the announcement about tearing down the current railroad I've received a lot of inquiries about the 'next' layout. Some have asked if I'm getting out of the hobby. 
I've been involved in model railroading in one form or another since I was a kid, so no, I'm not going anywhere (sorry, if you hoped otherwise!) and yes, I do plan to build at least one more model railroad. 
I honestly haven't made any final decisions. But I do have some possibilities in mind. As with most things, each has some strong and weak points. Here's where I'm at - subject to extensive change:

1. Central Vermont White River Jct. to Essex Junction, transition era - essentially, rebuild the layout I'm currently tearing down. 
PLUSES: I can reuse virtually all the structures, rolling stock, locomotives, etc...
MINUSES: That's a LOT of railroad to cram into any space, build, maintain, and crew as I've learned from all the building, and rebuilding, it's not an easy stretch of railroad to fit into a basement. 
But Bernie had a plan for a "dream" railroad that at least includes White River Junction in his last track plan book, so you never know...

2. Central Vermont - Richford Branch - 
PLUSES - Could be built one town at a time. Start with Richford, get it finished, and then move down the line. There's several interesting industries - lots of creameries, a couple of feed mills, and a paper mill, as well as interchanges with the Canadian Pacific and St. Johnsbury & Lake Champlain. 
MINUSES: Well, it's a branchline, so there is some limit to the variety of motive power and rolling stock - no 2-10-4s here....

3. Southern New England Railway - Basically, revisit my old freelance railroad - Similar to the layout shown in MRP 2000 - start at Palmer and work through the New England countryside. 
PLUSES - Freelancing offers a lot of freedom, I can improve a lot of the issues I have with the CV specific prototype, but still have a railroad that looks a great deal like the CV, at least at first glance. 
MINUSES - Executing a believable freelanced railroad is a LOT of work - and you constantly have to explain the history of the freelanced railroad to, well, everybody. 

4. "Somewhere" in the Carolinas, set in the 1980s. This is getting away from the New England transition era layout - but I remember rail fanning that area at that time. 
PLUSES - A fresh start is sometimes extremely appealing. I know a little, but not much, about rolling stock of that era for example. More to learn keeps the hobby fresh. It would offer a chance to model some different scenery - a wood dock with some shrimp boats tied up, with marsh grass along the banks of the rivers, would be neat and offer a scenery challenge. 
MINUSES - This would represent a wholesale replacement of the considerable investment in time and money I've made in the transition era equipment. 

As would 

5., 6, 7, etc., . . . summarized as "Something in Proto 48" (or N, S, scale, or even narrow gauge, or ??? . . . 
I'm not discounting any options - I've actually gotten suggestions or hints to consider several of these, but I'm practical enough that it would be really, really difficult to deviate from HO at this time. 


Monday, May 1, 2017

Petition to Abandon the Line

I had the pleasure of hosting an open house for the NMRA Potomac Division last Saturday. Considering this was the nicest weekend weather-wise we've had in about a month, I was pleasantly surprised by how many members (36 in total, according to the sign-in sheet) stopped by to see the railroad.
John Paganoni manned the check in desk upstairs, which allowed Christine to escape. Stic ran the trains back and forth (and back and forth). He seemed to be having a good time. Beauregard and Molly opted to go to Doggie Day Care for the afternoon, although they did have a chance to visit with Stic when they got home.

Just before the open house I posted the following notice on the layout fascia -


This layout's days are numbered - in fact I spent some time yesterday putting cars and locomotives back in their boxes, in preparation for the scrapper's train that is expected to show up sometime next week. I'll start by removing the around the walls portion of the layout, keeping the peninsula in place for a short while longer in order to have it evaluated for the NMRA Scenery Merit Award.

While some consideration was given to salvaging portions of the railroad, it seems much more logical to simply clean sheet the thing. So, with the exception of Williams Creek, which is a small section on it's own framework, the rest of the layout will be broken down to its basic components - with a lot of it going to the curb.