Showing posts with label Room Preparations. Show all posts

Sunday, July 31, 2022

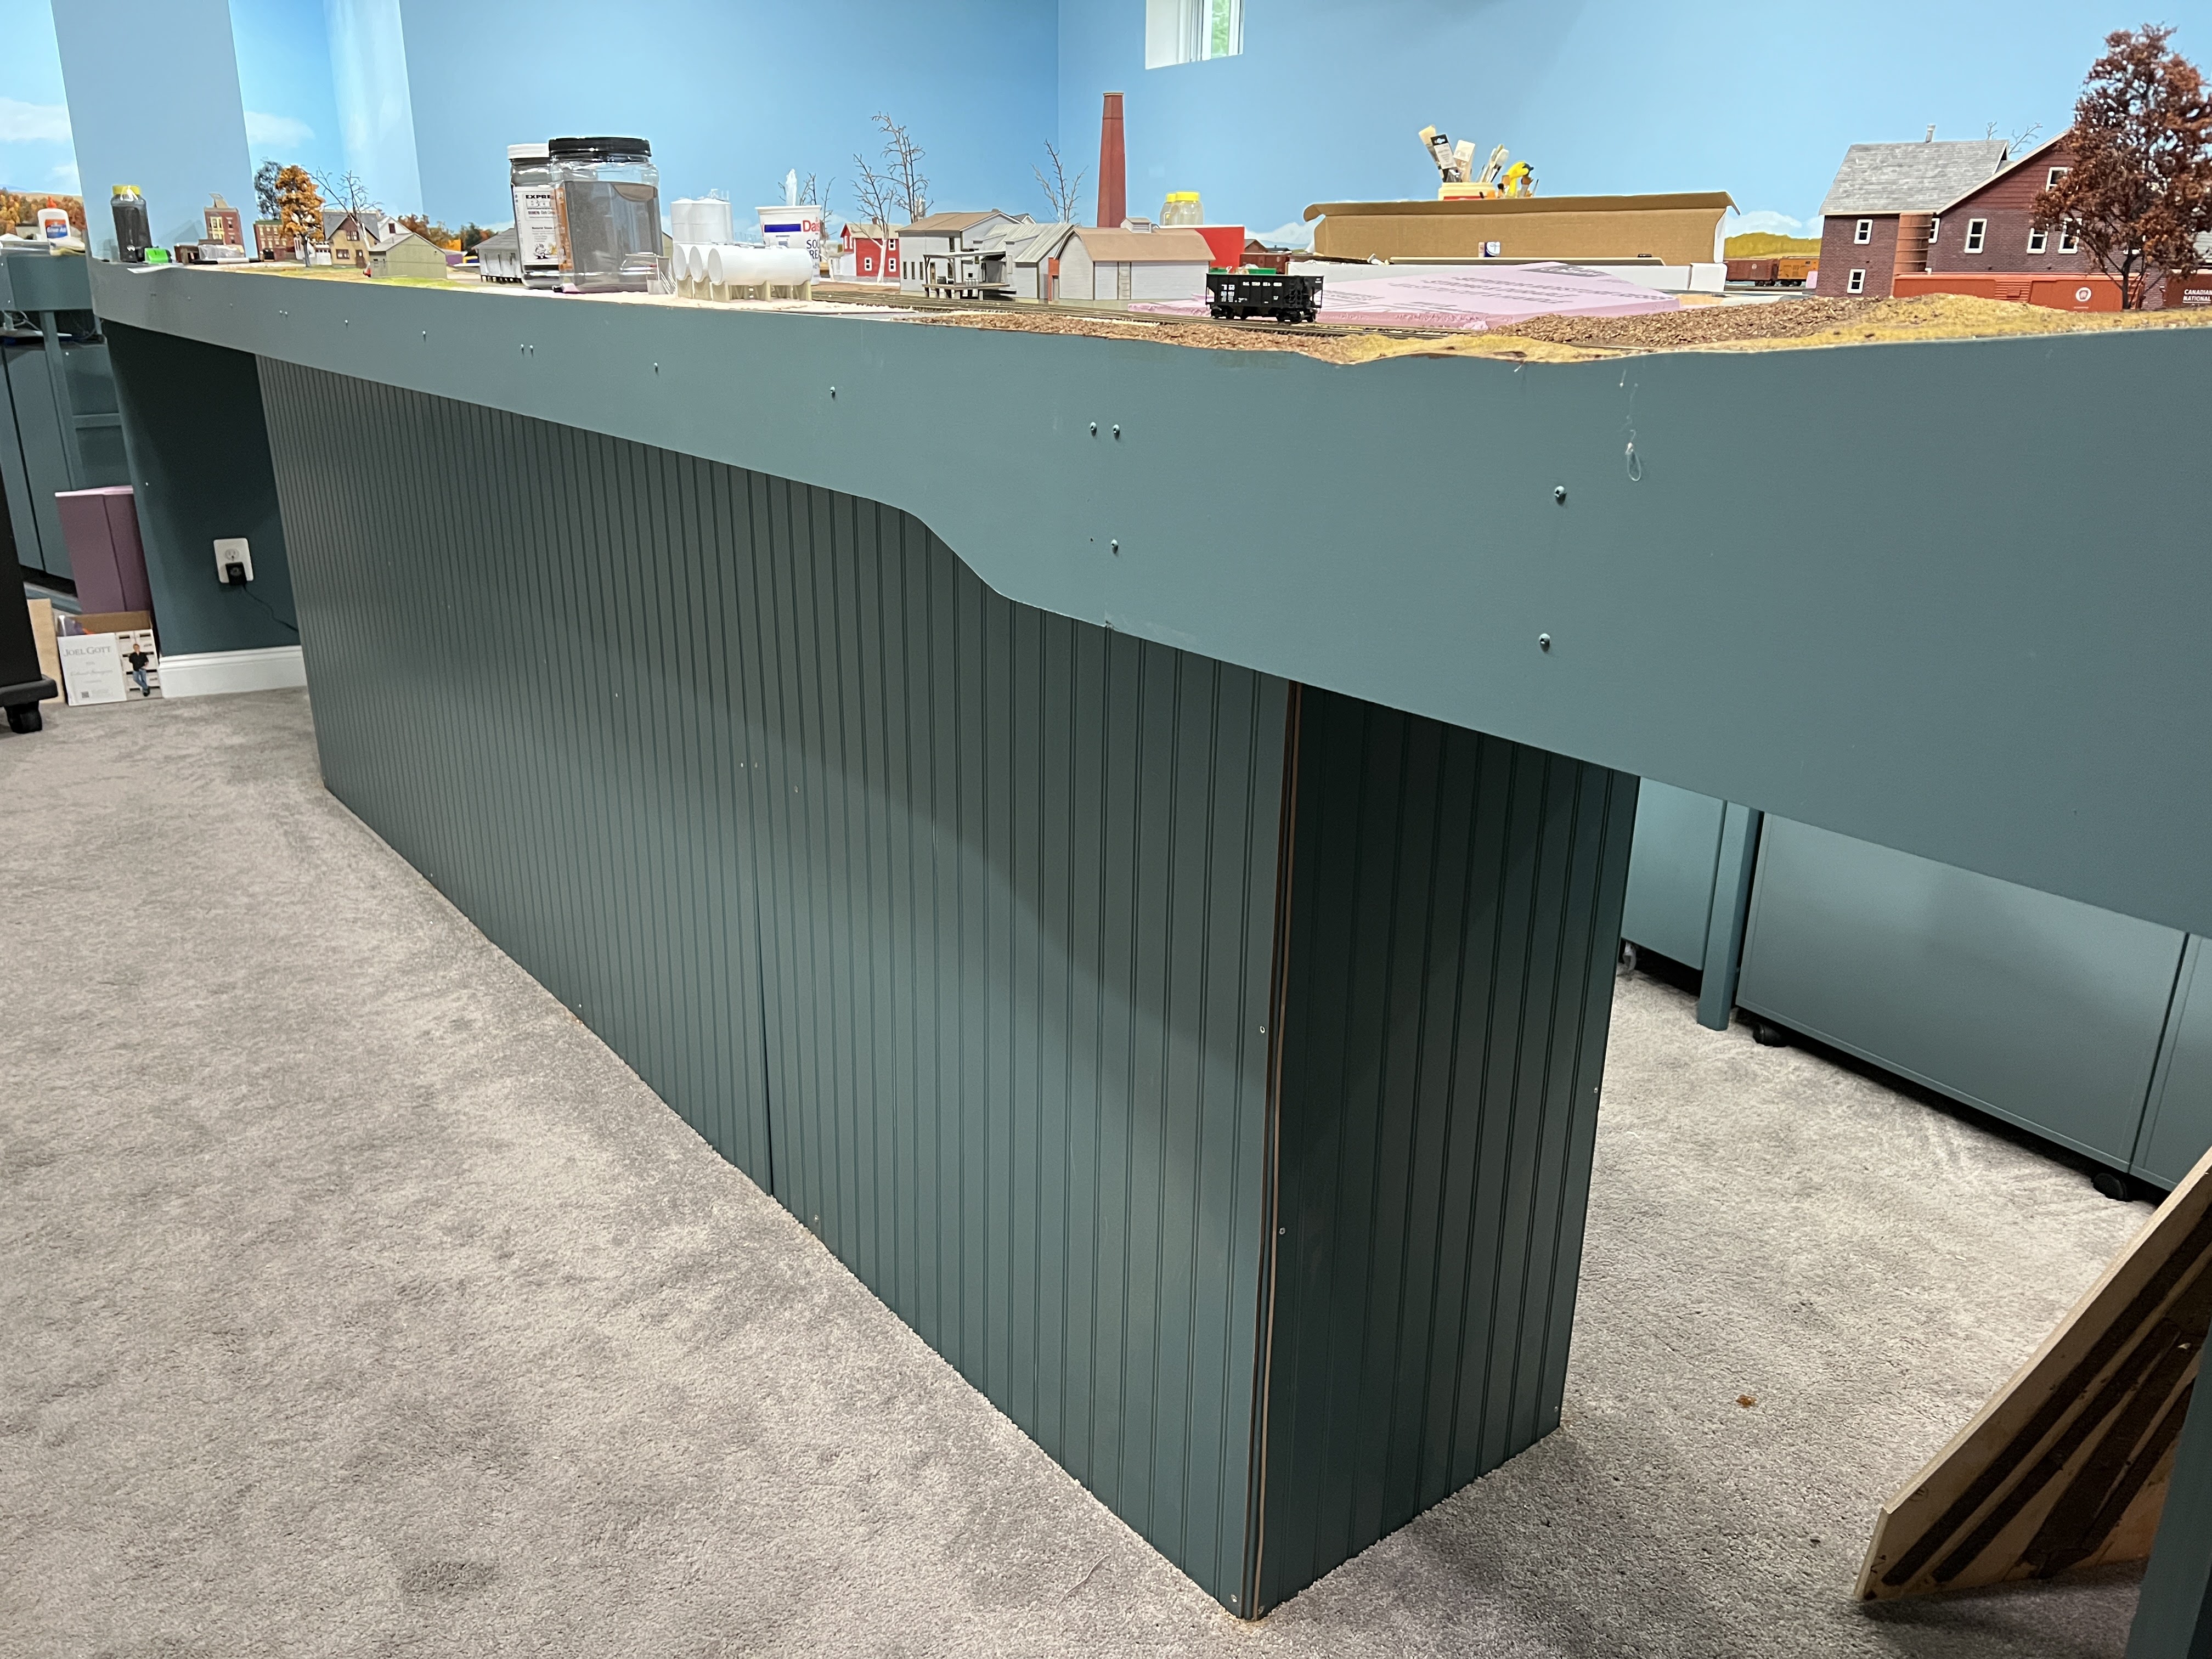
Below layout paneling

While it still needs some corner trim and perhaps base molding, the paneling directs the eye upwards at the layout. 

 I mentioned in my last post that I was on the docket for the MARPM meet layout tour. Although I've had the occasional visitor in the last couple of years, the last time I had an open house of any type was the first weekend of March 2020 - literally days before the Covid lockdowns started! 

I took a few minutes to look over my blog posts from March 2020 through the late summer. (As an aside, being able to record my progress - or lack thereof - is one of the main reasons I maintain this blog!). And while the alcove "Curve" scene is obviously much further along than it was then some areas of the layout have remained remarkably stagnant. So a couple of weeks ago I walked around the basement and made a list of things to do before the open house. I divided it into two parts - "Need to finish" and "Nice to finish". Almost top of the list on the former was "Do something about shelves under layout."

I don't know about you, but I've been to plenty of open houses over the years where people spent more time looking at and commenting on all the stuff under the layout than the railroad itself! We had a couple of neighbors downstairs a few weeks ago and while they didn't comment on the stuff under the railroad they certainly noticed it. Messy shelves with stuff stacked on them never looks neat or orderly - no matter what we tell ourselves.  

I intended to use the Ivar shelves in the "entry area" of the layout to display railroadiana and perhaps models that I've built or acquired over the years that don't really fit my New England branchline theme. But in the last few years that really hasn't panned out. I tell anyone who listens that the shelves aren't really at an ideal height for displaying or viewing anything. 

The "before" view in all its glory. 

But in reality those shelves have become the semi-permanent homes of a variety of jetsom and flotsam ranging from the boxes from half completed structures to old magazines and empty freight car boxes. 

So last weekend I bought a couple of sheets of beadboard paneling, painted them my fascia color and installed them on the "display" side of the shelves. At least that will eliminate the distraction when you first enter the layout area. My ultimate goal is to have nothing under the layout at all. For now, the "operating aisle" side of the shelves are open and usable for storage. Of course all the stuff that was on the shelves in now stacked on the other side of the basement - but dealing with that is the next project! 


Wednesday, October 31, 2018

Room Paint Colors

I've had some inquiries about the paint brand and colors used for the sky and benchwork. 

For everyone's reference, mostly mine, they are shown here (click on image or caption to go directly to the Sherwin-Williams web page):

The room walls above the benchworkare Sherwin Williams #6793 "Bluebell"

The walls below the layout, and the legs of the IKEA Ivar units, are Sherwin Williams #6222 "Riverway." (I plan to use this color for the fascia).


Tuesday, October 23, 2018

Stubby Peninsula

A quick update on progress down in the basement. 

Most of the subroadbed in the "yard" and "town" areas - those sections where the terrain will be basically flat - has been installed. I temporarily propped up plywood in all the areas where the subroadbed will be cut to fit the track and taped large strips of paper to the plywood. I'll arrange flextrack on the paper, trace around it, cut it out and use the result as templates for cutting the plywood to shape.  
As I was positioning the track I realized it might help to have at least the first section of the peninsula in place to ensure the track curving onto the peninsula landed on benchwork and not on the floor. Luckily I'd pre-painted the components for the peninsula so when Stic stopped by the weekend before last we got the first 8 feet or so of the longer peninsula attached. In order to give some additional stability to the peninsula I used an IKEA Ivar cabinet. This will be useful for storing layout construction and scenery supplies - although the bottom shelf of the cabinet will house a couple of (heavy) boxes of magazines. 

Monday, September 17, 2018

Progress Report - 17 September 2018

Progress photo - September 16, 2018. It's starting to look like something other than a pile of wood!
After a seemingly endless process of painting and staining the legs, painting the walls, and then assembling the IKEA shelves, the layout has finally started to look a little less like a pile of lumber and more like a layout. Or at least the underpinnings of a layout. 
As I've mentioned before, one of the main goals for this layout (dictated by my wife - although I completely agree with her) is that it should "Look like a piece of art or furniture and blend in with the rest of the space."
We opted NOT to use the curtains under the fascia since decent looking curtains would not only be expensive, but they would actually detract from the non-cluttered look we're going for. 
Early tests with black for the IKEA shelf legs and under the layout was far too stark so I deferred to Christine's color sense. She chose a Sherwin Williams color called "Riverway" (SW 6222) for everything under the layout. The shelves are stained a light shade (Pecan) in order to allow them to pop a little. 
Ultimately I plan to use the IKEA shelves in the "entry" aisle shown here for display purposes for some other models and collectibles. But for now they're serving as staging spots for track, roadbed etc... 
There's one section where the benchwork is 12" wide - IKEA brackets secured to the inside of a 1"x3" "L" and painted to match the wall are more effective than individual legs or shelves.  
There's no need to have all the benchwork built on the IKEA shelves (which could get pricey). Using the IKEA Ivar shelf system is working out well - as you can seen here, most of the time you can use a short set of Ivar as shown here, and then bridge the gap to the next set of shelves or even a single support leg.  
A lesson learned from trying to string wire on previous layouts - lay in the buss wires now. ran a pair of buss wires and a second pair of wires (most likely for lighting and the like) around the entire layout now - before the subroadbed was in place. 
So far I'm quite pleased with how everything looks. 


. 


Monday, February 12, 2018

Checking In

Despite rumors to the contrary, I haven't fallen off the edge of the earth. Life in all its forms has gotten and stayed extremely busy since the fall - and things only now are showing some signs of letting up. 
One of the leading time sinks over the past several months has been the process of building the new house. In an interesting turn of events, the people who bought our old house bought the furniture - every stick of it - as well. And although it's been great that we haven't had to pay to move and store tables, couches, beds and the like for several months only to find they don't fit the new house - it's also meant we've been spending a great deal of time shopping for furniture. 
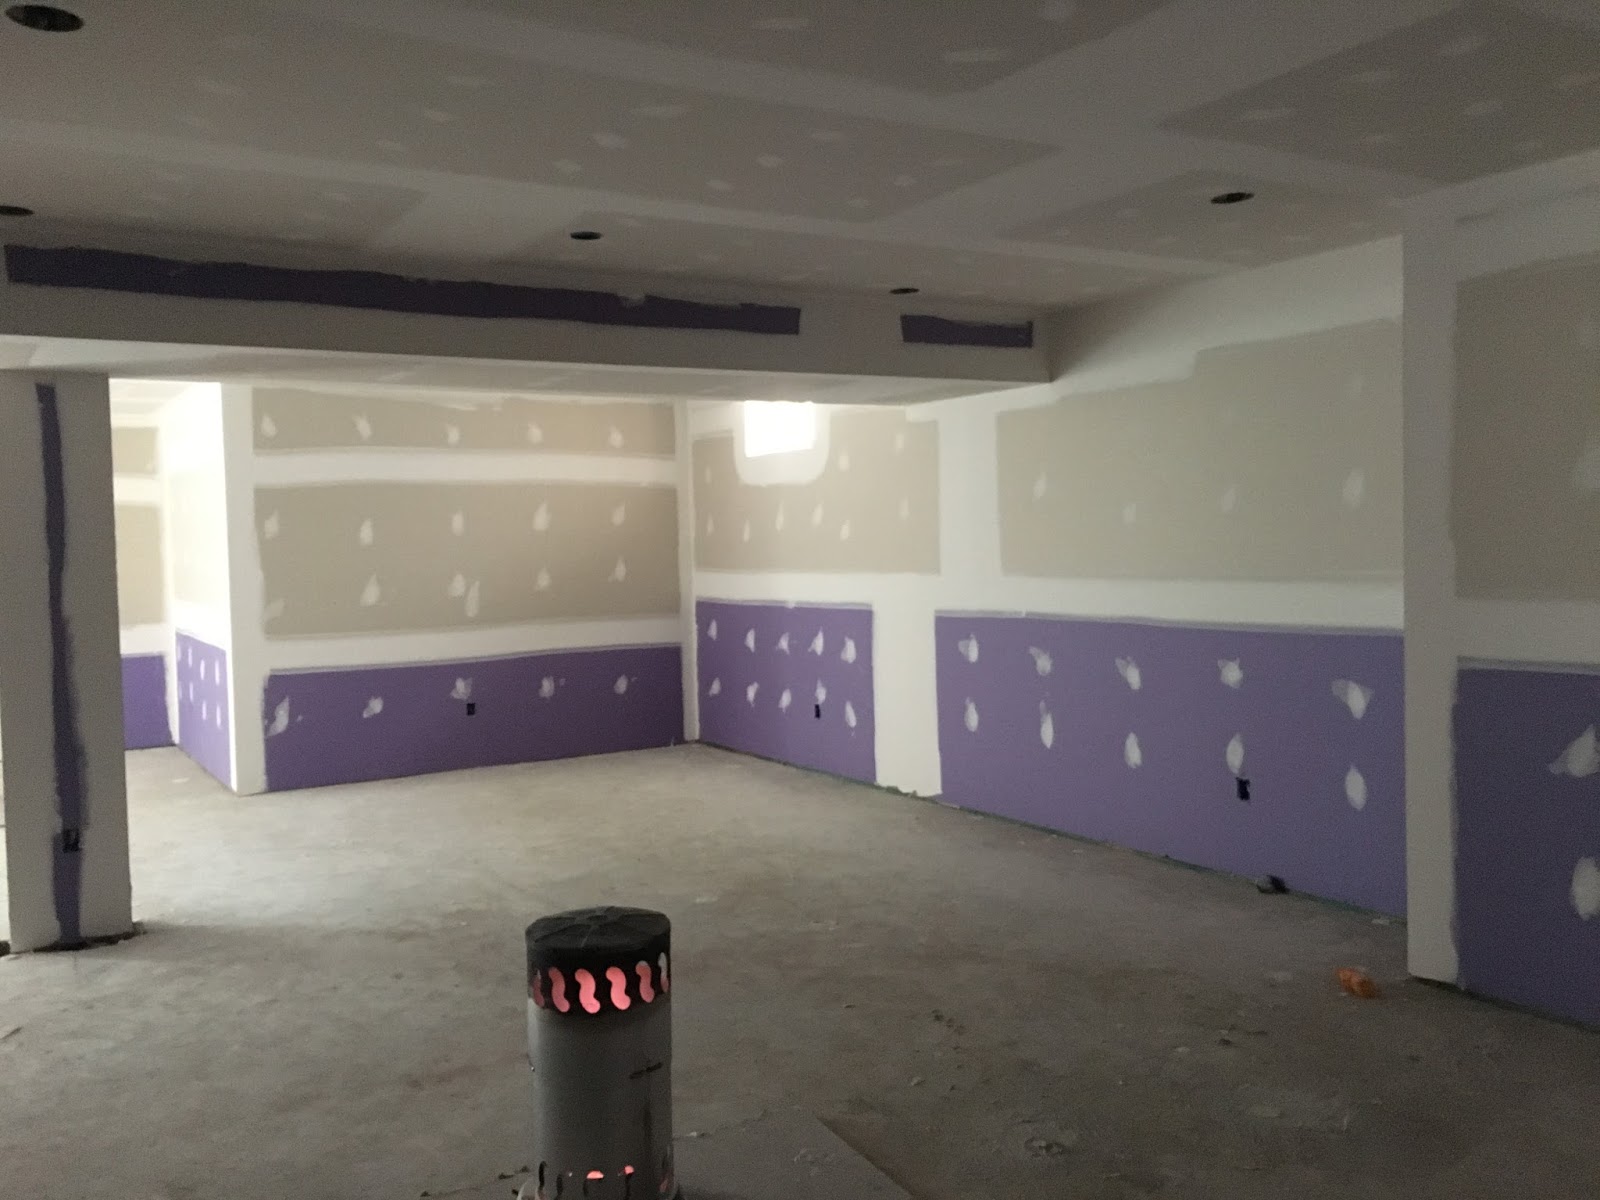
New Layout Area - but what form will the new layout take? 

But the new house is getting dangerously close to be being "finished" - the seemingly never ending extra long days at work seem to regaining at least a sense of returning to normal hours, and things are looking good. 
What I haven't gotten a lot of done lately is model railroading. 
I managed to start a couple of car kits, and they sit in early stages of assembly on my modeling desk. I strongly suspect they'll be getting packed up shortly as we are scheduled to close on the house at the end of the month. 
In fact, the main model railroading thing I've gotten accomplished in the few months we've been living in the apartment is working closely with my friend Lance Mindheim to design a plan for the Richford Branch inspired layout. I'll likely share the track plan here at some point in the future - but frankly want to move in and live with the space for a little while before committing to say "this is the plan." 
To those of you familiar with Lance's approach to such things, the layout is what might, at first glance, seem minimalist. Honestly, there's more "scope" that could be cut from even the "final" draft as it now sits. 
There's also a nagging temptation, based on the ongoing reality of how all-encompassing work has become over the past year, to think a very simple, stand alone layout - perhaps with a radically different theme - may be the best approach for now. 
Expect no decisions anytime soon as the "to do" list for various household tasks after we move in are going to take priority over layout construction. Honestly, I doubt I'll cut the first piece of lumber before the weather turns cold again. 

Thursday, December 7, 2017

On second thought . . .

Sunday afternoon I had the chance to actually measure the new basement. I wasn't surprised that the actual dimensions with the walls framed out had changed somewhat from the estimates the builder had given us a few weeks ago. The revised floorplan can be found in the link just below the header. 
This task meant I spent about 45 minutes in the basement, and during that time I couldn't help but feeling that the "branchline" scheme I've discussed - a layout inspired by the CV's Richford Branch - would be a much better fit for the space than going through the process of attempting to fit, and refit, several of the mainline towns into the space. I think the resulting layout would always seem just a little too cramped. 
But just because its a branch doesn't mean the curves won't be fairly broad. 
And note I said "inspired by" - the goal here is not a tie for tie duplicate - a good thing since I simply have no idea what some of the buildings actually looked like. If I can determine what they looked like I'll model them accurately. Otherwise, I'm going to draw inspiration from other places along the CV to fill in some of the gaps in my knowledge. 
Things are starting to come into focus.