Monday, May 29, 2023

Country Lanes for Stafford Mills

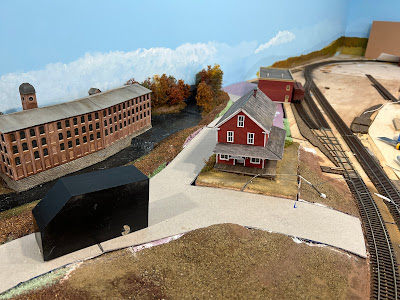
This aerial view shows the basic layout of the streets in Stafford Mills

Spent a couple of hours in the basement yesterday getting the foundation for the roads installed in Stafford Mills. 

The first step was cut away the area for the country store. Since I'd installed the store on its own rectangular base this was simply a matter of determining the stores final position (It's in a slightly different spot than in the previous blog post), marking the outline of the base, and sawing out the scenery. 

Although I planned to use sheet styrene for the roads, I didn't have any larger sheets of plastic so I opted to use cardboard instead. The first step was to take the paper templates (see previous blog post) and cut them apart to arrange them on the large sheet of cardboard in order to minimize wasting any material. I ended up with four sections.

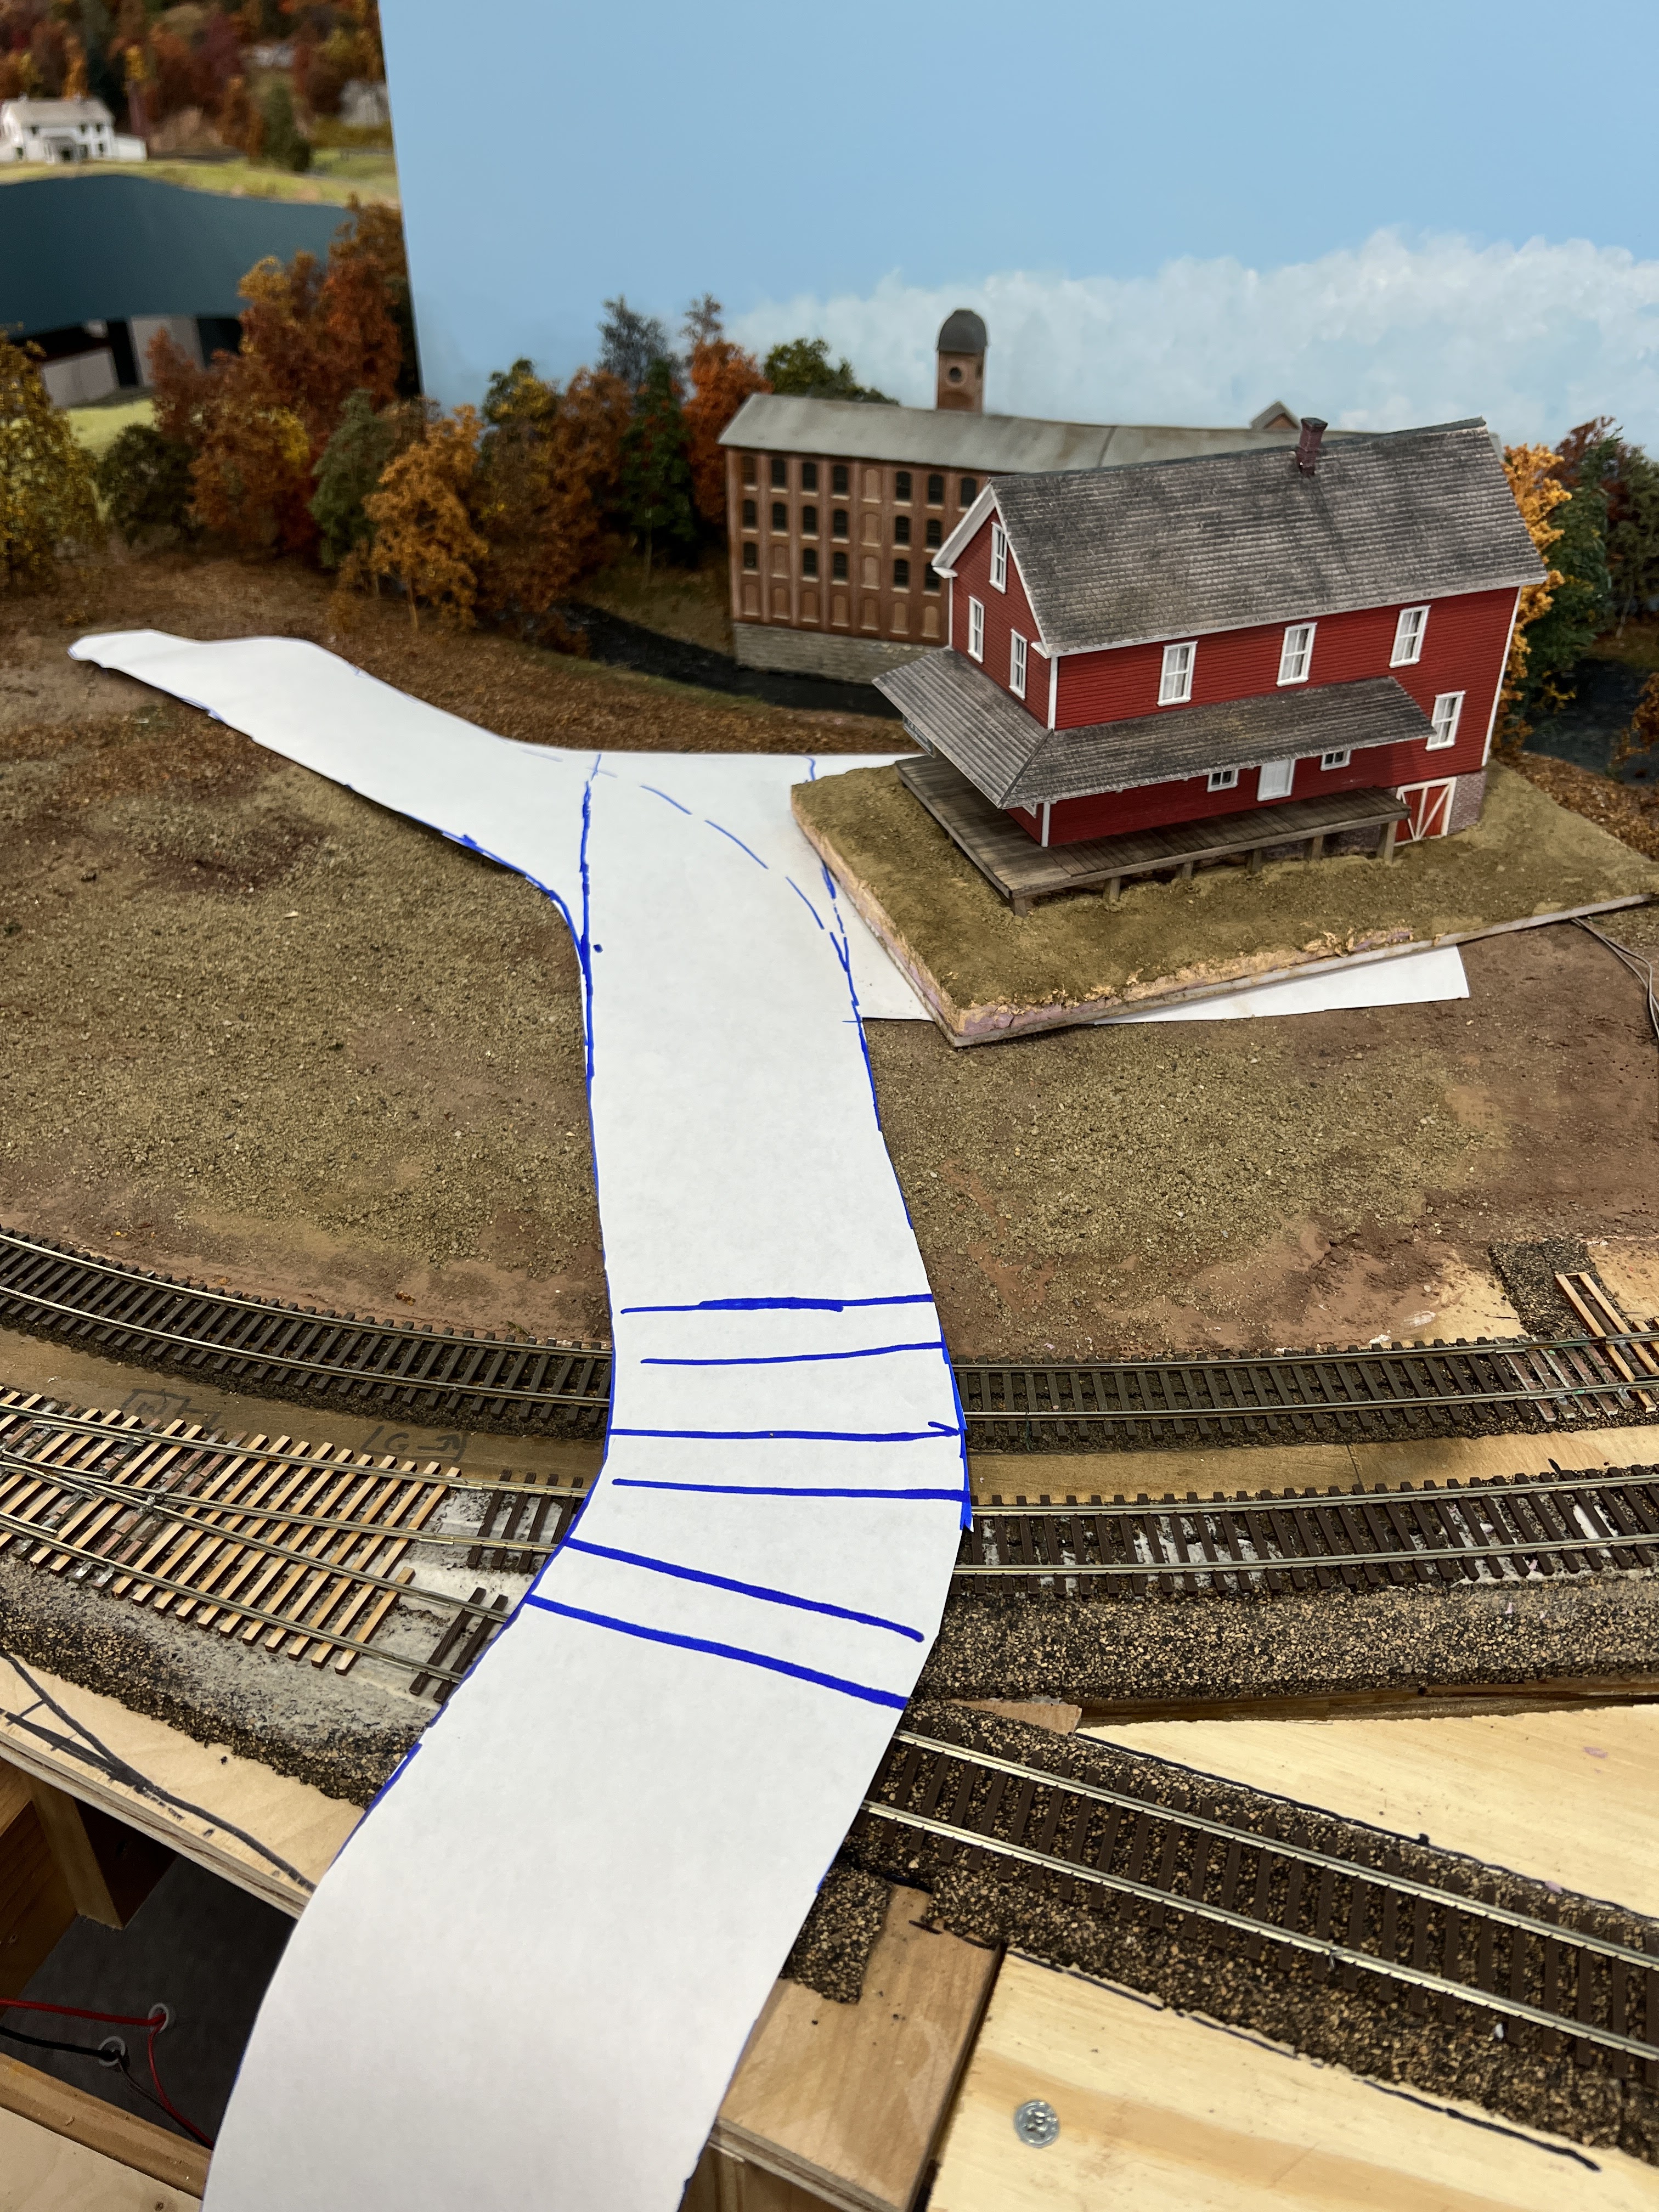
I used a saw to create a smooth path for the roads. 

When installing streets in a hilly area you need to be careful to avoid overly steep climbs and sudden grade changes. And since the basic landform scenery was already in place there were a few spots where the road climbed a hill just a little too steeply, or the road wasn't level across its width. The solution was to trace the outline of the cardboard road pieces onto the ground and then use a utility knife and a fine toothed saw to produce cuts in the scenery. 

I did narrow the roads as they got closer to the wall. 


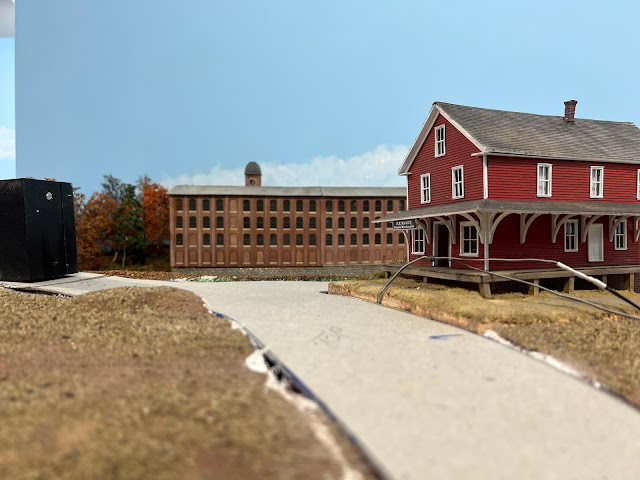
On the left side the road climbs to a slight crest before heading down towards the rear. 

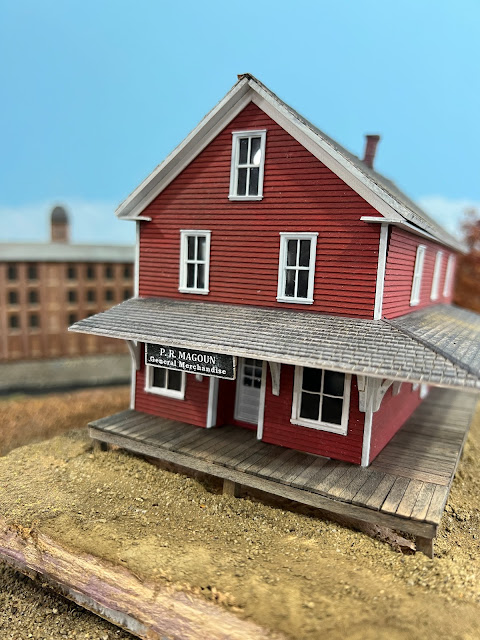
On the right side the road will disappear into the trees. 

Once I liked how the road looked I glued it in place with hot glue, using heavy weights to hold it in place. 


The one problem with cardboard roads is that can easily swell and warp when painted - especially with acrylic paints. So I sealed the cardboard with Polycrylic sealer and allowed them to dry overnight. Note the road hasn't been extended over the tracks and to the fascia. That's the next step. 


I couldn't resist positioning the camera for a test shot to see how the scene was shaping up with the various elements in place. The plan is to include some "full scale" HO trees between the road and mill river in order to screen the brick mill and contribute to the illusion of distance. The large open area to the left may (I'm still not sure) become home to a white steepled church, a New England signature element if there ever was one. 


Saturday, May 27, 2023

"Next Stop - Stafford Mills"

This is the approximate position of the Magoun Store. 
With the Missisquoi River crossing scene completed it's time to head to the opposite side of the Junction and finish up the Stafford Mills scene. "Stafford Mills" is the name I'm using to represent Sheldon Springs. Why change the name from the prototype you ask? 

I could give you some long explanation that I was concerned that two or three operational locations on the layout named "Sheldon something" - would confuse operators. Or how I wanted to include some elements that weren't part of the prototype scene so I couldn't say I was "modeling Sheldon Springs." 

The real explanation is pretty straightforward: "Stafford Mills" is a town name I dreamt up back in high school while trying to look like I was paying attention in Father Brisette's chemistry class and I kind of like it... (the town name, not chemistry!)

For some details on how Stafford Mills got to its current state you can look at this blog post. You can also check out the two videos on "Forced Perspective" on my "CVSNE" YouTube channel. 

The impetus to work on this section of the layout was digging out the half (okay, maybe 3/4!) finished BEST Trains Trussell store kit. Long time blog followers will recall I planned to include this building in Williams Creek on my former Roxbury Sub layout. I got the building mounted to a Gatorboard base, stained the roof, and added a couple of Woodland Scenics Easy Lighting LEDs. I also created a poor man's interior using photos of General Store interiors I found online.

I made a sign for the front of the store - christening it "P. R. Magoun's General Merchandise" - named for a former NMRA president and (more to the point) fellow Navy veteran and long time friend and strong supporter of the SNE. Friends of the SNE get buildings named after them - enemies of the SNE get their names on a plaque in the SNE HQ men's room ....(!) 

The first step in getting the store in place was to find a spot that it looked right. This was a little tricky with the N scale brick mill in the background. In the end I settled on the spot shown in the photo above. 

The N scale brick mill in the background of the scene. 

I also wanted to add a road in front of the store that would ultimately run towards the paper mill complex and tie these (and some future elements) of the scene together. 

I started by removing a lot of the trees that I'd installed along the front of the background mill river. Then I carefully placed a large sheet of paper and marked the approximate location of one side of the road. Then I removed the paper and cut out the roads themselves. 

I'll use the paper road as a template to cut the road base itself out of sheet styrene. But that's for the next blog post.