 |
| Montville, Conn. c 1956, Courtesy J. Paganoni |

Wednesday, April 22, 2020
Wednesday, April 15, 2020


Tuesday, April 14, 2020
Agricultural Implement & Paint Dealer - Part 11 Trim, Stairs, and Test Fitting
 Over my lunch breaks on the last few days I got the windows glazed and installed, added the trim, installed the doors, and even scratchbuilt a set of front steps.
  |
| Steps were made by stacking square stripwood, which was sanded and painted to give a concrete texture. |
Sharp-eyed readers will note the wires emerging from the side of the structure.
 |
| Trim was added using pre-painted 1x6 and 1x8 stripwood. |
Things are shaping up nicely.
Saturday, April 11, 2020
Agricultural Implement & Paint Dealer - Part 10 - Another sign
 |
| Here's everything needed for this project. Cut the .008" wire that the sign will be "hanging from" long enough to fit between the two printed signs with a few scale inches of wire left protruding above the top. |
So I found a sign on the internet, sized it in Photoshop, and printed out two signs.
Then I found a length of wood dowel, and some .019" and .008" wire.
The photos show the basic process.
 |
| The wire is secured to the rear of one sign with ACC, and then the second sign is added to the rear. Touch up the edges of the white paper and carefully dab some dark rust colored paint on the edges and surface of the signs with a sea sponge (below). |

Paint or stain the pole (I used some Hunterline Light Brown, followed by a wash of acrylic Burnt and Raw Umber. Then I drilled a hole in the pole and used ACC to secure a short length of .019" wire. The next step was to glue the sign to the horizontal wire, allowing it to hang a few inches down on the .008" "chain."

Sorry for the quality of the photos - I want to get this structure and scene completed, and didn't want to dig out the proper camera for this - and as you can from the photos above, this sign is really small!
But though it's small, I think it will add just a little something to the finished scene.
Wednesday, April 8, 2020

Saturday, April 4, 2020
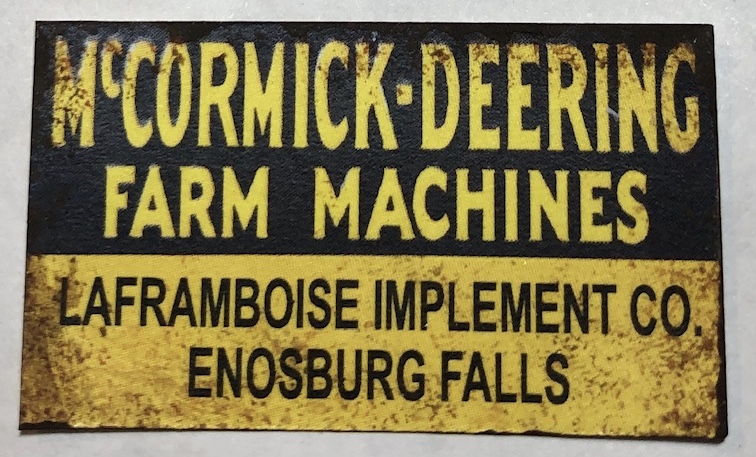
Agricultural Implement & Paint Dealer - Part 9 - A couple of signs
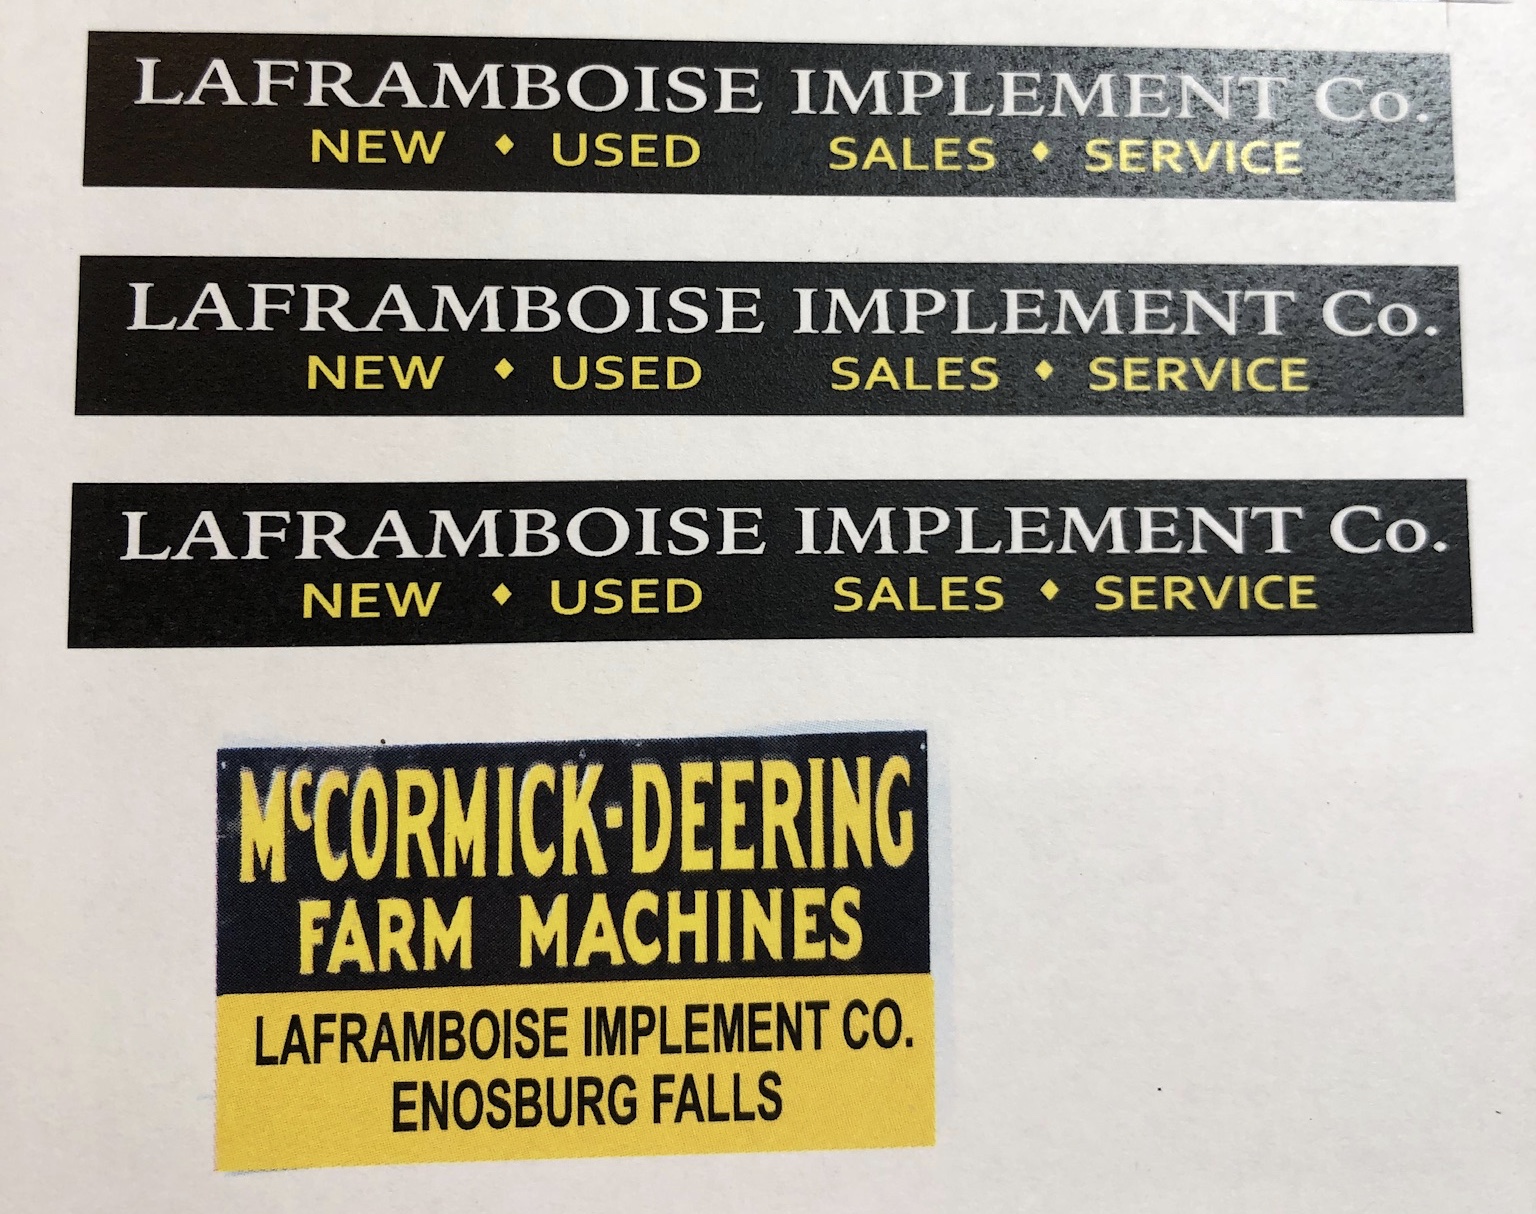
After looking over what signage I could find (through a variety of internet searches), some common patterns emerged. For one thing, there was a large sign over the larger doors - in fact my prototype has a remnant of such of sign (search through earlier posts in this series of posts).
So it was a simple matter to create an appropriate sign in PhotoShop (above).

After I printed the signs out (copying and pasting it a few times so I'd have extras in case I messed one up!) I carefully trimmed the overhead sign from the paper and glued it a piece of .040" styrene. Some stained stripwood 3x6 trim, drybrushed white and then installed around the edges of the sign, completed the main sign:

I wanted the Mc-Cormick Deering sign to look like a metal sign so I used a sea sponge to gently dab a compbination of old rust-colored paint to the sign. I made sure to go lightly on the surface and a little heavier on the edges.
On a whim, I googled "Vintage Farm Implement Dealer interiors" and found this image:

Subscribe to:
Posts (Atom)