
I've noticed a lot - the majority in fact, of the smaller industrial and agriculture related buildings along my prototype feature standing seam metal roofing of one form or another. Over the years I've tried all kinds of ways to model this, from paper with stripwood "ribs" to Builders in Scale metal roofing, such as on this model of Ben Thresher's mill.
Frankly, when it's painted and weathered the real metal roofing looks perhaps the best, except the material is just a little too thick, meaning for this building, with all its valleys and angles in the roof panels, I didn't think it would offer the best approach.
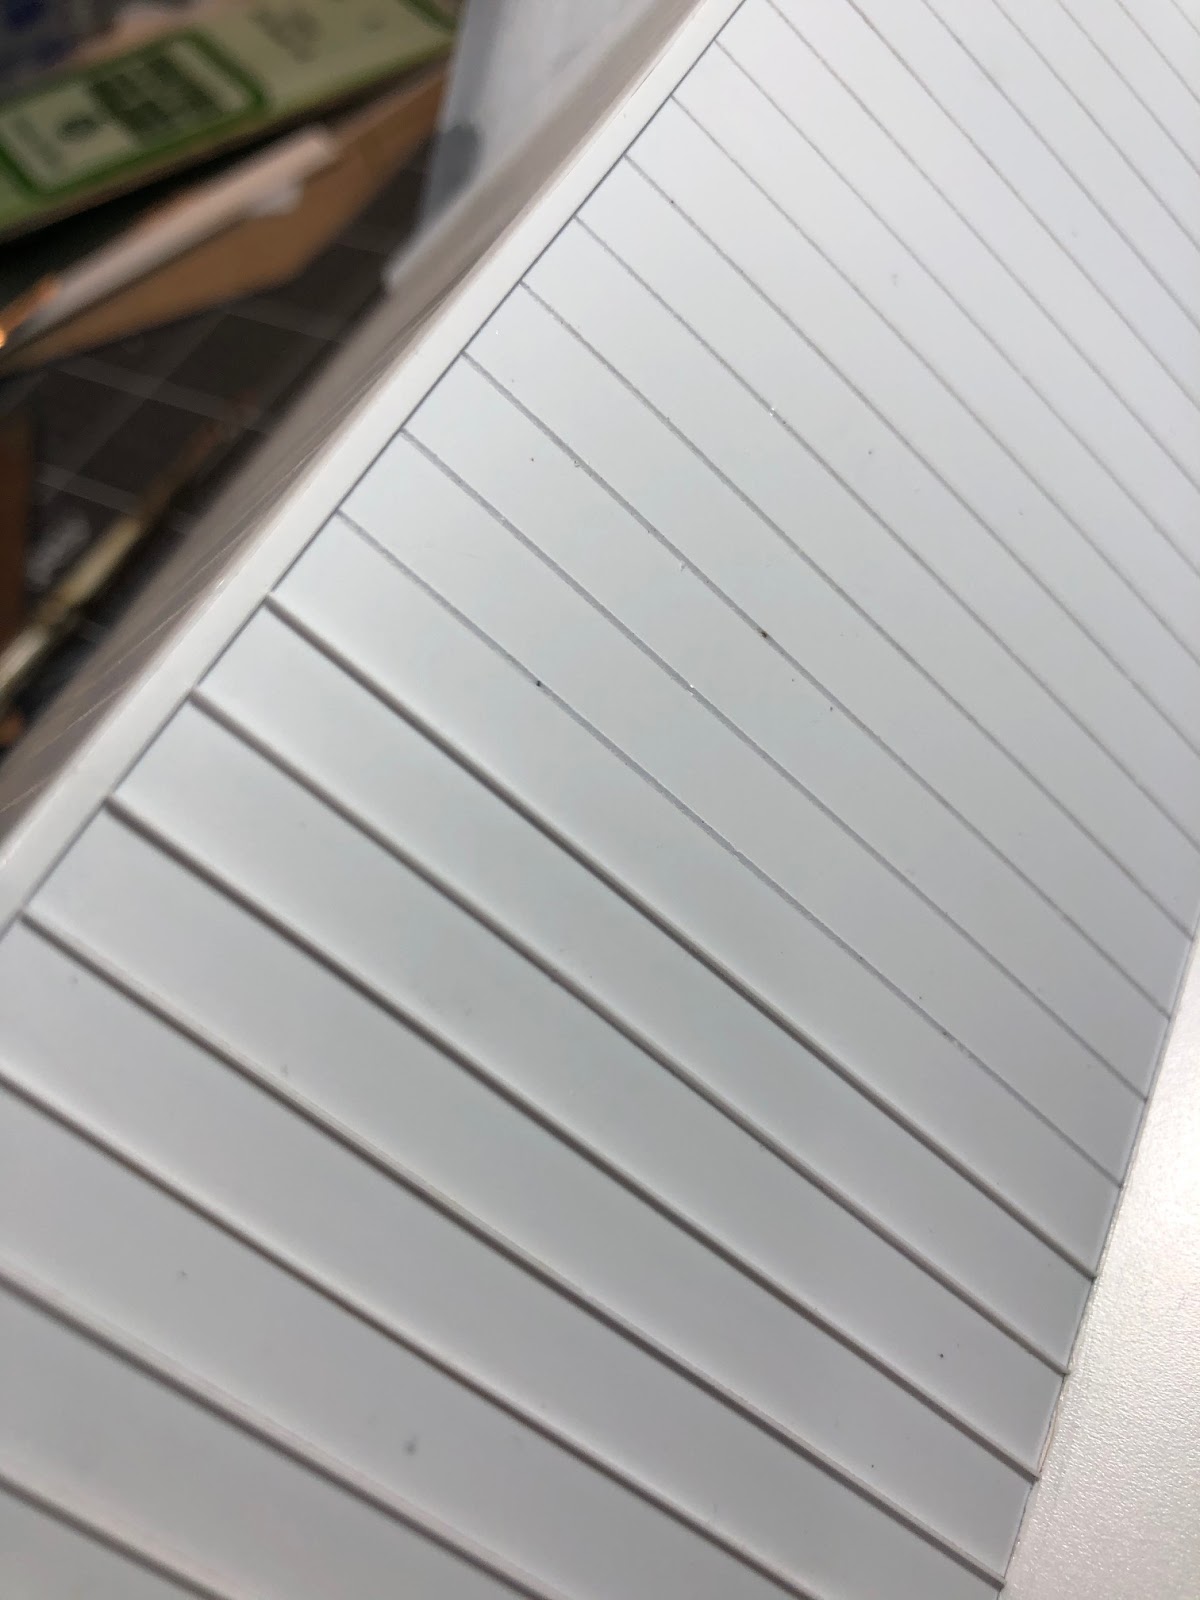
Instead I opted to go with Evergreen styrene metal roofing. This material is easy to work with, but the most tedious part is adding all those ribs to the slots in the roof sheet.
For a situation where the ribs end at the bottom of the roof, simply install the slightly long ribs along the length of the roof and then trim the ends flush. For areas where the ribs run between two other sections of roof, or one section and the peak, it's a little more tricky.
Here's how I do it:


No comments:
Post a Comment