Showing posts with label Roads. Show all posts

Wednesday, September 14, 2022

Tile Grout Pavement - Create a Road to Somewhere...

Sanded tile grout pavement in place. Note the subtle variations in color and texture in the "older" pavement on the left. This was done by "stirring in" small amounts of darker and earth-tone grout when still dry.  

Since I built the basic benchwork going on three years ago, the town of Enosburg Falls, which is right up front when one comes down the stairs into the basement, has remained a partially scenicked, half done repository for stand in structures, surplus rolling stock and an assortment of tools and modeling supplies. And that's on top of the layout!

Getting the underside of the layout looking presentable was step one. The next item on the to-do list was to get the top of the railroad cleared off and at the very least ballast the track and install the roads. 

I won't elaborate on ballasting the track. I used pretty standard techniques. One thing I'll add about ballasting - a little ballast goes a LONG way, and too much ballast can reduce a well running layout to an engine stalling, derail inducing, mess. So when you ballast track use about half the ballast you think you need - and be especially careful with it around turnouts! 

I've tried all types of methods to make roads in the past. For smooth paved roads I think styrene may make be the best choice. But in this case I was looking to create an older, faded somewhat rough road. I tried Ceramic Stucco texture - which I've used with some success on building foundations - but that stuff is pricey. I also tried AK Interactive asphalt and concrete texture. I found the texture just a little too gritty for HO scale (it's great in larger scales) and if you think the artist medium like the Ceramic Stucco is expensive, just wait until you see the price for a very small tub of the AK stuff!


Oyster Gray - much lighter
than it appeared on the label.
 
I use tile grout as a base earth texture since it's easy to work with and inexpensive. I use sanded tile grout (for those who don't know, there are two basic types of grout - sanded, and unsanded). The sanded dries with a slightly gritty texture as you may expect. 

I went to Home Depot and ended up with two bags of sanded grout - one was a light gray color called Oyster Gray, the other a very dark gray (almost black) called Charcoal.  

Since neither color looked right I started combining them together. I worried I'd get a "salt and pepper" effect but frankly the stuff is fine enough that it really blended into a single color. 

About a 70-30 blend of Oyster Gray
 and Charcoal produced a faded
pavement color
.
 

Applying it is simple. I put masking tape to mark the width of the road and create a sharp transition from paved to unpaved areas. After mixing the grout to the desired color apply it dry to the area of the layout you want to pave. Then use a disposable foam brush to smooth the grout. I noticed the lighter gray grout tended to have clumps - these were easy to break up during the smoothing process. 
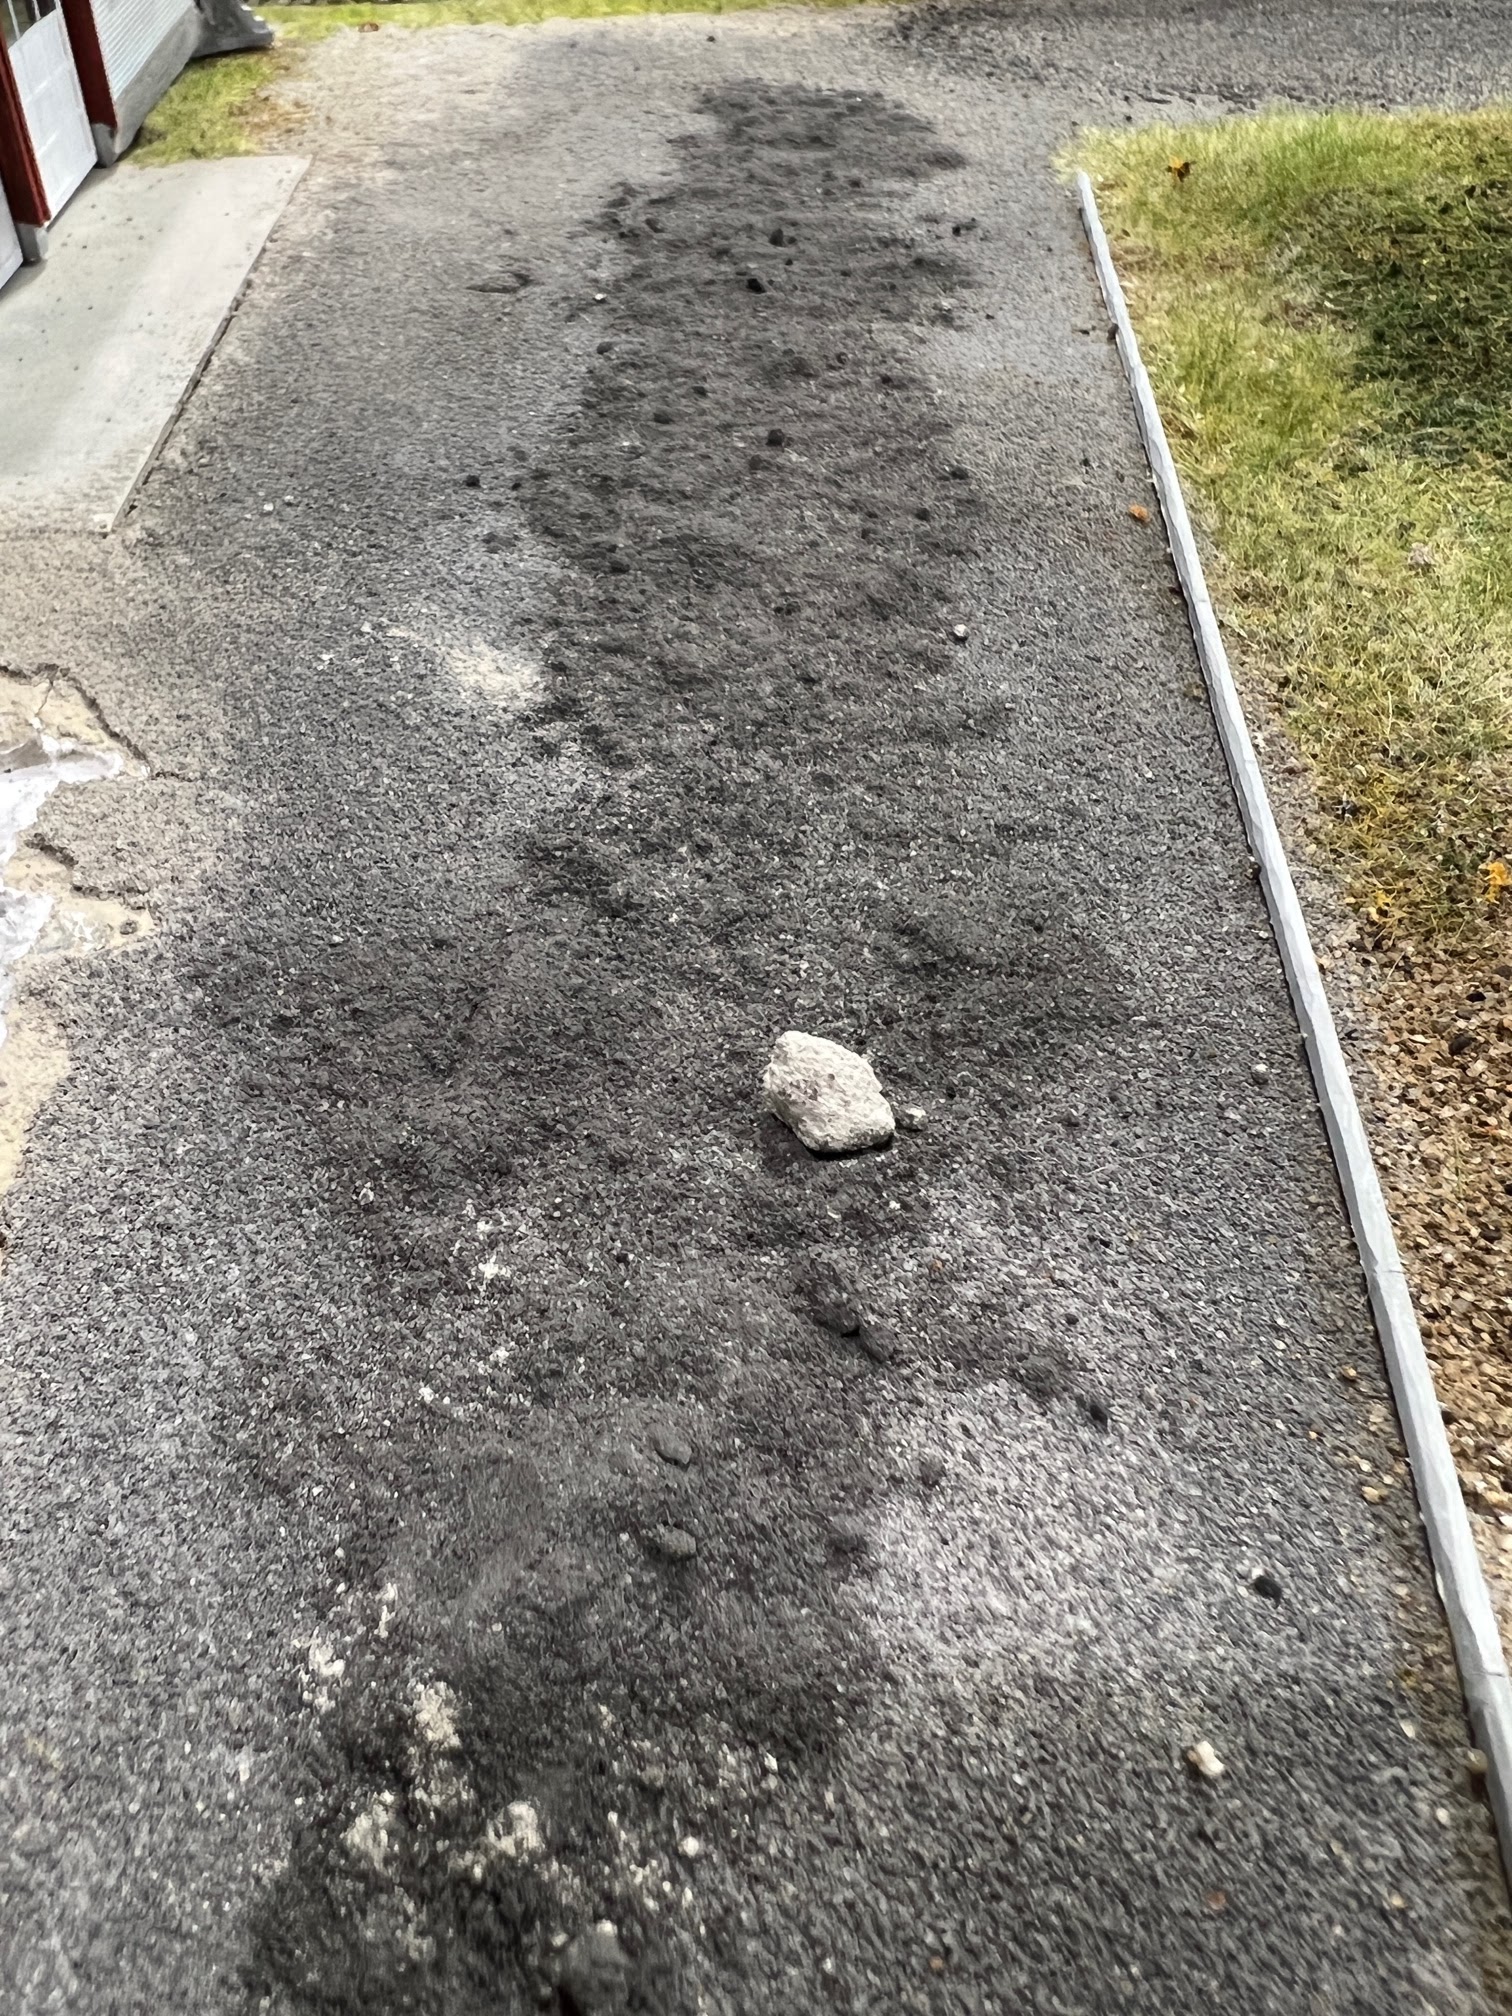
You can introduce subtle changes in the pavement color by manipulating the dry grout with the foam brush. You can also add more dark or light gray grout as desired. I even tossed a small amount of earth toned grout into the mix to warm up the pavement slightly. 

The last step is to secure the pavement in place. For this mist the grout with a mixture of alcohol and water (about 25% alcohol/75% water). Start with a gentle mist to "lock" the grout in place and then completely soak it. The next day it will be rock hard. 

In other news, I also started working in the basic landforms in the Berkshire area. Old magazines make great weights to hold the foam in place as the glue dries! 

And I've gotten most of the basic landforms in place around Kempinski Curve. It's ready for grass, foliage and some trees. 


Thursday, December 5, 2019

Arranging roads and buildings in the Junction Scene

I spent some time playing around with building road/arrangements in the junction scene last night. While the scene is inspired by the crossing of the St. Johnsbury & Lake Champlain and Central Vermont in Sheldon Junction, Vermont, the buildings shown are all placeholders. And while I have some information and photos of the prototype buildings that were there, I don't really have enough to build accurate models so I think this scene is going to feature some sort of placeholders for a long time. 
Frankly, that doesn't concern me as the entire scene is fairly compressed and rearranged from the prototype - so the goal is to create something plausible that is appealing to look at. The overall photos show how things look. The depot, itself a stand-in, isn't a model of the Sheldon Jct. depot but is at least a "standard"" CV design. 
There are three spurs in the scene: 
One (the spur dead-ending at the edge of the layout in the background) is the St. J interchange track. This is hardly a high-density interchange, and will basically be a weed covered track. 
The second served a creamery (the white building in the distance)  
The creamery is an old Branchline laser kit that I have left over from the old layout (it actually goes back further than that). It's a creamery, I need a creamery there, so that's an easy one!
Two down, one to go. 
This is where it gets tricky. 
The third spur served at various times, a team track, feedmill, and a fertilizer plant.


I tried a finished kit for a cabinet making factory. It looks okay, but although a neat building in its own right, it really doesn't look "Vermont," at least to me. (Feel free to tell me I'm wrong!) 


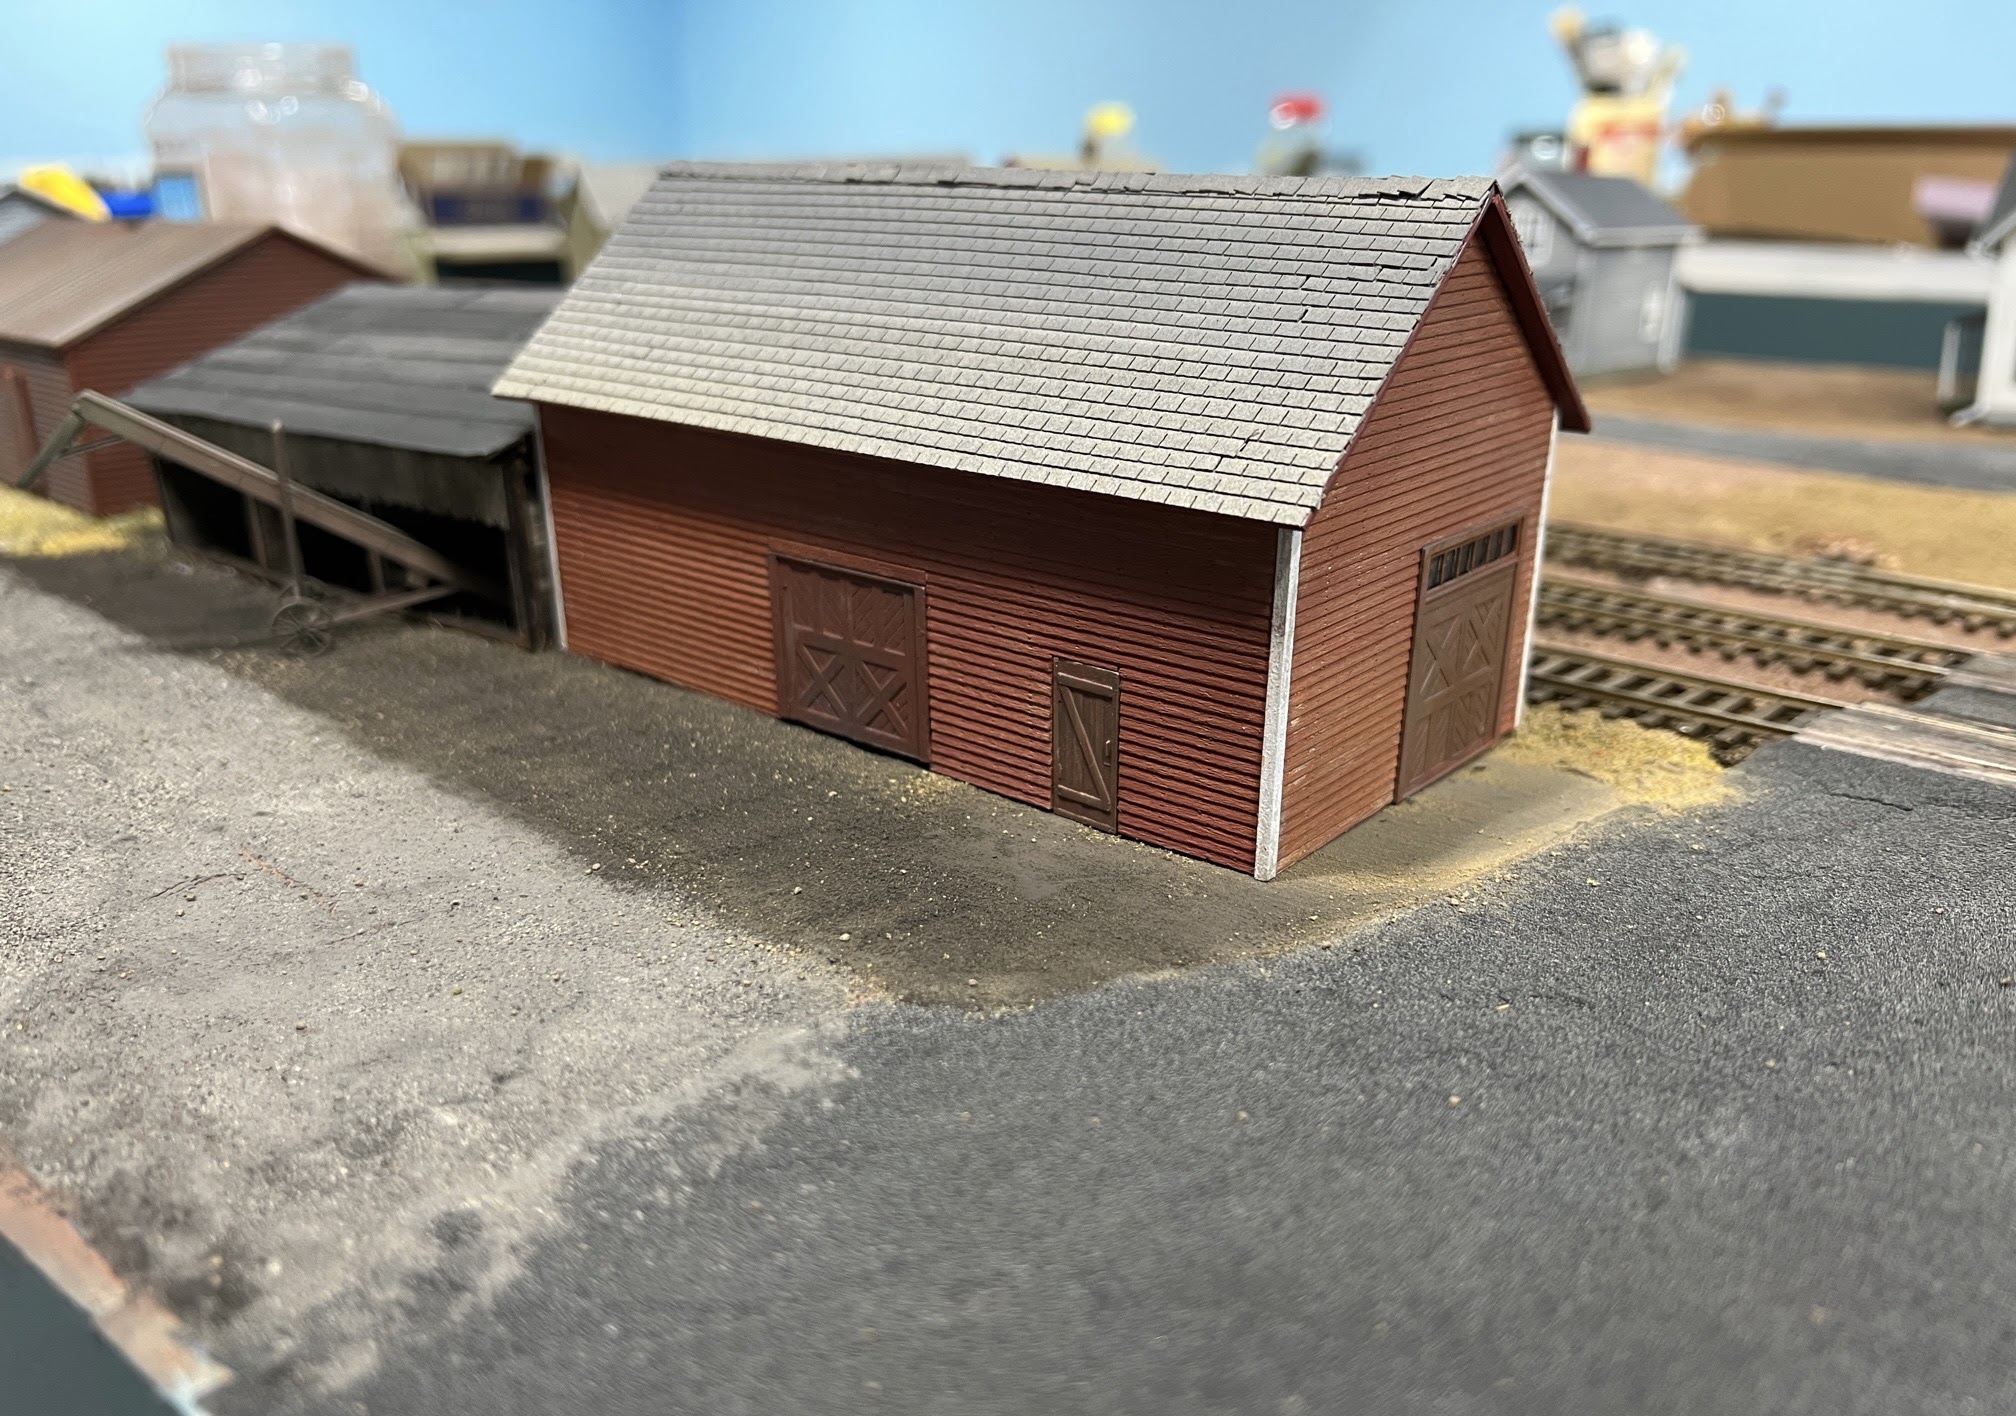
The second building I tried is the low red building. This is certainly a Vermont building - as it's based on one of the buildings in a baseball bat and ski-manufacturing company in Waterbury (for a photo of the prototype structure see HERE. For even more detail on the Derby & Ball Co. click HERE.  
I'm strongly leaning toward the red building, perhaps with the addition of a shed or some such to actually serve as a warehouse or lumber storage building. 
The final possibility, and one I might chose based on expediency, is to add a gravel/dirt parking area and declare the spur to be a team track. 

Road Widths
The next thing I did was try to lay out the road(s) on the scene. Eventually there's going to be a large three-span bridge to the right - the road will serve as a logical transition point between the "junction" and the "bridge" portions of the scene. Besides, there was a road running across the branch between the junction proper and the bridge.... 

Someone on the one of the Facebook groups I follow asked a question about road widths as I was playing with the road arrangement so I took a couple of photos. Thought they might be of interest here. 
I lay out the shape of the road using some half strips of cork roadbed since it bends easily and I happened to have it on hand. The first photo (left) shows the road (between the inner edges of the cork) at 22 scale feet. It's not bad - but might make for some hair-raising episodes, especially on a moonless night! It's also going to look really narrow if you include shoulders, drainage etc.. on the sides of the road. 
The second photo shows the road at 26 feet - for the sake of 3/8" or so of additional width I think it looks much better and is what I would consider minimum for a two-lane country road. 


Some thoughts on road width before I step off the soapbox - 

1. You can de-emphasize how narrow roads are by avoiding placing vehicles next to one another in the traffic lanes (like in the photos here). 
2. City streets, especially in older towns in the eastern U.S., are often narrower than country roads - but don't make them too narrow. Main Street in Enosburg Falls, Vermont, hardly a city, is about 60 feet wide. Photos of old Vermont towns often show cars parked at an angle to the curb, two or three lanes, and more cars parked at an angle on the opposite curb. I've never seen this on a model railroad... 
3. Casual visitors - and even other model railroaders - may not know a thing about locomotives, freight cars, operations, and the like but I guarantee they will recognize a treacherous road when they see it!