There's a fairly large open spot along the condensary spur between the condensary building and the creamery that seemed ideally suited for something like a coal dealer. And I had a kit squirreled away that I felt would be an ideal fit for this spot. Don't ask where I got it - it's entirely possible it showed up at MR as a review sample - more likely I picked it up at a train show for a price I couldn't resist. (If I paid more than a $1 for it I got ripped off). The "list price" on the thing was $75.00!! I thought with relatively few parts this would relatively quick project - something to fill the open area between those two buildings until I could devote the time to a more detailed Finescale Miniatures coal bin kit I have for this spot.
Saturday evening I dug out the kit. It's a resin kit. The large pieces, such as the boards on the sides and ends of the bin, are actually nicely detailed. So I pulled the various pieces out of the box and arranged them on the table.
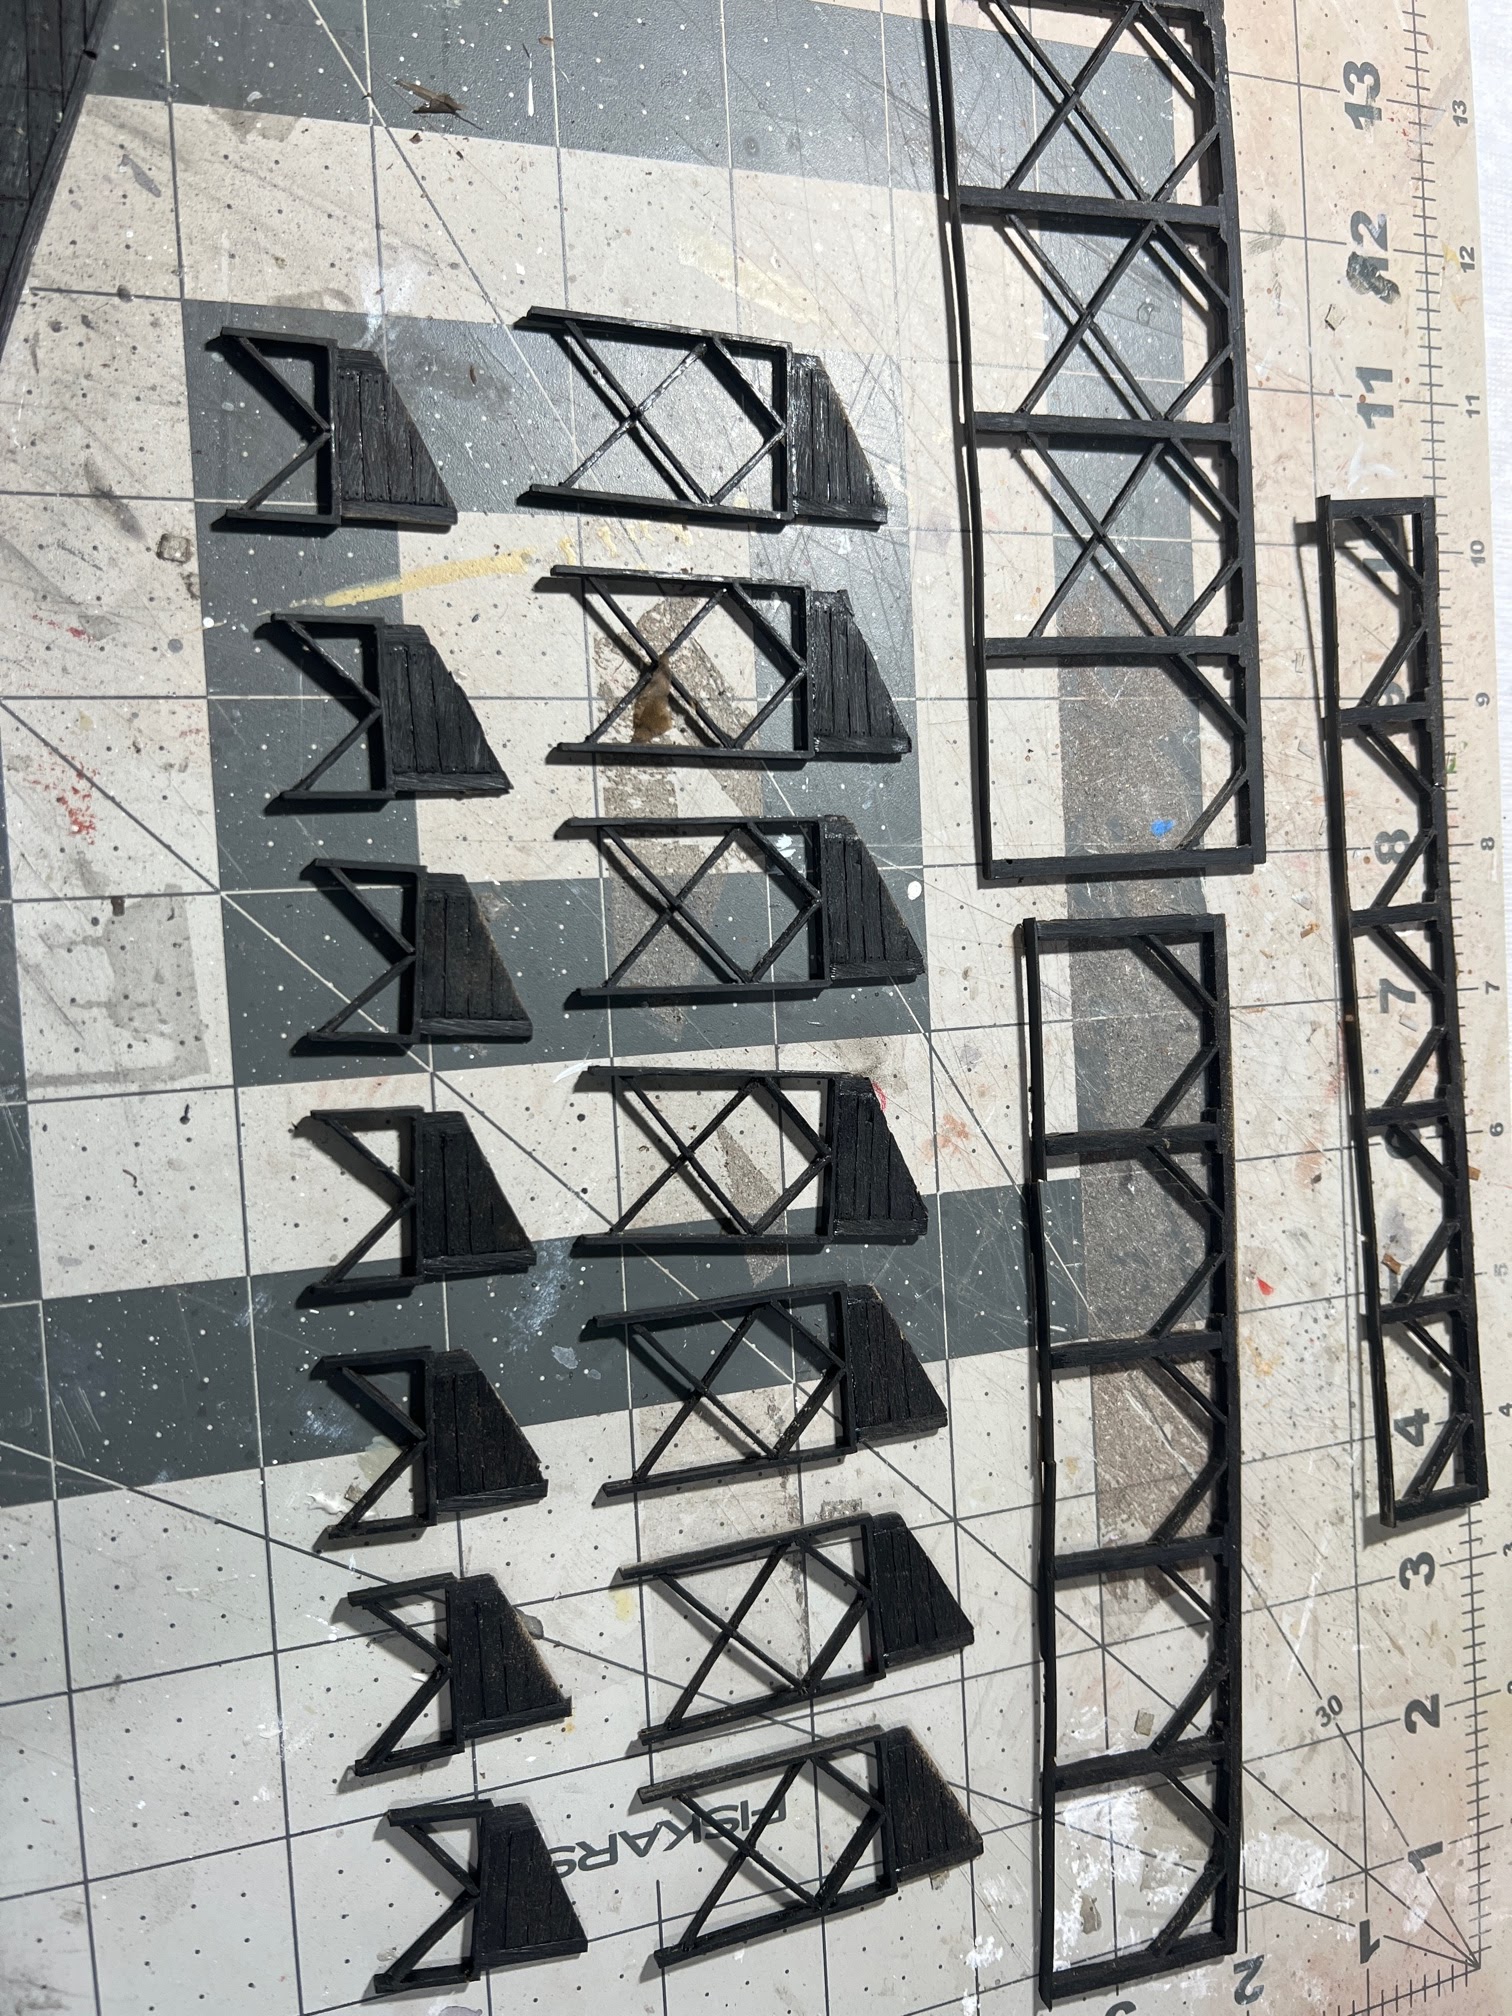
Step one in the instructions went on about "Some flash may be present" and "to carefully trim away" any flash. Here's what "some flash" looks like:
And it didn't help that this wasn't some more modern flexible resin - this stuff was like the old Westerfield "glass" resin - only much thicker with huge gates that were larger than some of the parts! And in many cases it was difficult to discern the line between "part" and "flash." I should have surrendered right then and there but I persisted and spent most of Sunday afternoon (it was too hot and muggy to do anything outside) clearing the flash. Frankly I thought things were looking pretty good.

What's not evident in the photos was how the parts were warped and twisted. I tried my normal assortment of tricks to straighten and align the resin parts. This usually resulted in the brittle, hard resin breaking and shattering. But I pressed on.
I started trying to attach the leg assemblies to the bin walls and managed to break the taller leg section in a couple of spots. Frankly that helped since gluing the pieces back together got rid of more of the warps and twists. Then I noticed the leg assembly was considerably longer than the bin - and shorter than the other leg sections - so even without the warp the thing simply wasn't going to ever fit right.
I decided to let the model sit for a couple of days - sometimes stepping away from a project helps solve whatever problems you're having.
Not in this case.
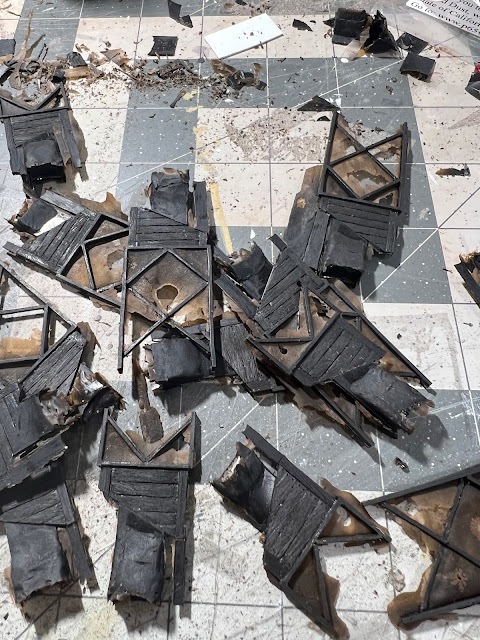
So last night I came to the conclusion that I'd wasted an entire afternoon and a couple of evenings of modeling time on this thing that would never produce a satisfying result.
So I cut my losses and did what I should have done as soon as I removed the pieces from the box - I pitched the thing. Guess I know why this company never did a second kit ...