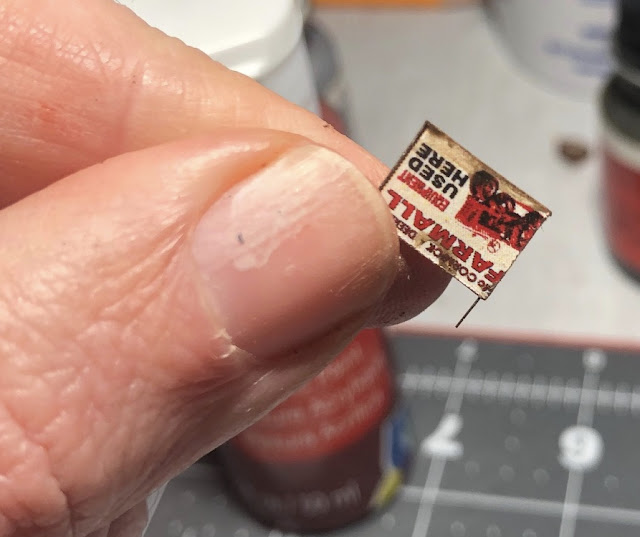
So I found a sign on the internet, sized it in Photoshop, and printed out two signs.
Then I found a length of wood dowel, and some .019" and .008" wire.
The photos show the basic process.
Paint or stain the pole (I used some Hunterline Light Brown, followed by a wash of acrylic Burnt and Raw Umber. Then I drilled a hole in the pole and used ACC to secure a short length of .019" wire. The next step was to glue the sign to the horizontal wire, allowing it to hang a few inches down on the .008" "chain."

Sorry for the quality of the photos - I want to get this structure and scene completed, and didn't want to dig out the proper camera for this - and as you can from the photos above, this sign is really small!
But though it's small, I think it will add just a little something to the finished scene.


1 comment:
Marty
It may be small but what a great job you've done on this.
Jerry
Post a Comment